As an enthusiast photographer and an apprentice film maker, it was time for me to buy my first serious continuous light.
It took me a while before investing in them because they are quite expensive and quite cumbersome. I’ve always loved to learn on my own. For me, if I can learn on my own, then I have a chance to be good at it.
We’ll see in this review what my impressions are of using a Nanlite Forza 500B II light and how it compares to the competition, notably Aputure.
Introduction
I am by no means a gaffer or a specialist in lights. This review is purely based on my personal experience as a photographer.
As a photographer, I have mostly used flash and strobes, and to be honest, my experience with those is quite limited.
To me, artificial light has always been so obvious in pictures that it removes the natural from the photography and makes it look very staged.
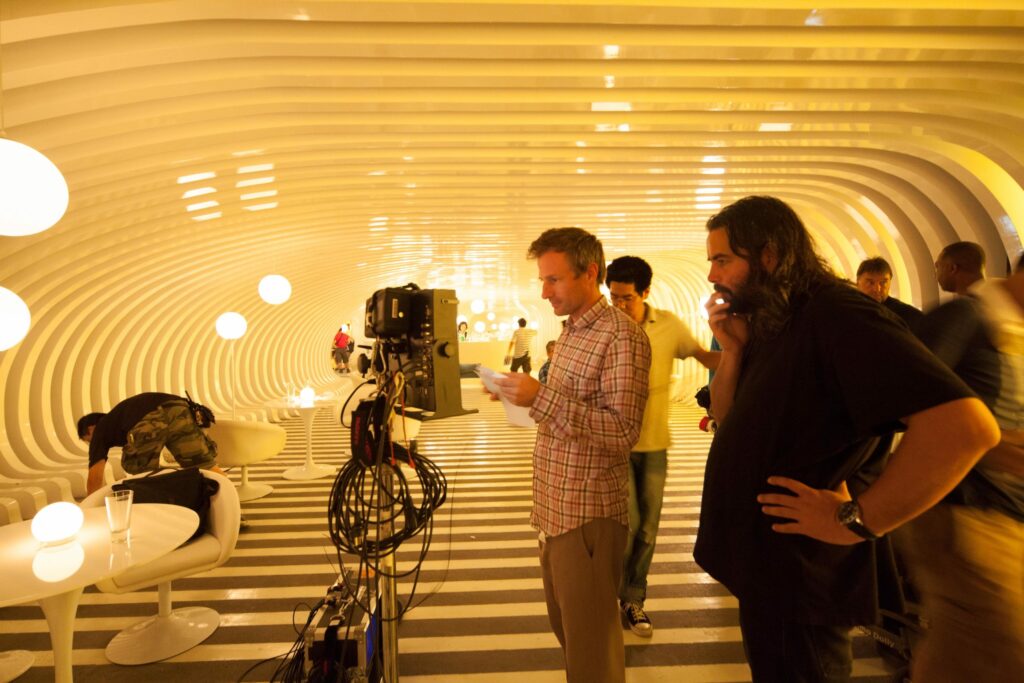
In video, this is totally different. Sometimes you are forced into a location and into a particular angle. This makes using light an obligation, basically.
To be fair, these days, lights, especially continuous lights, have become a must. Even movies from today have become less naturalistic and more of an artistic expression.
Directors of photography are using lights to get some strong looks to fit the narrative but also to give the image some aesthetic.
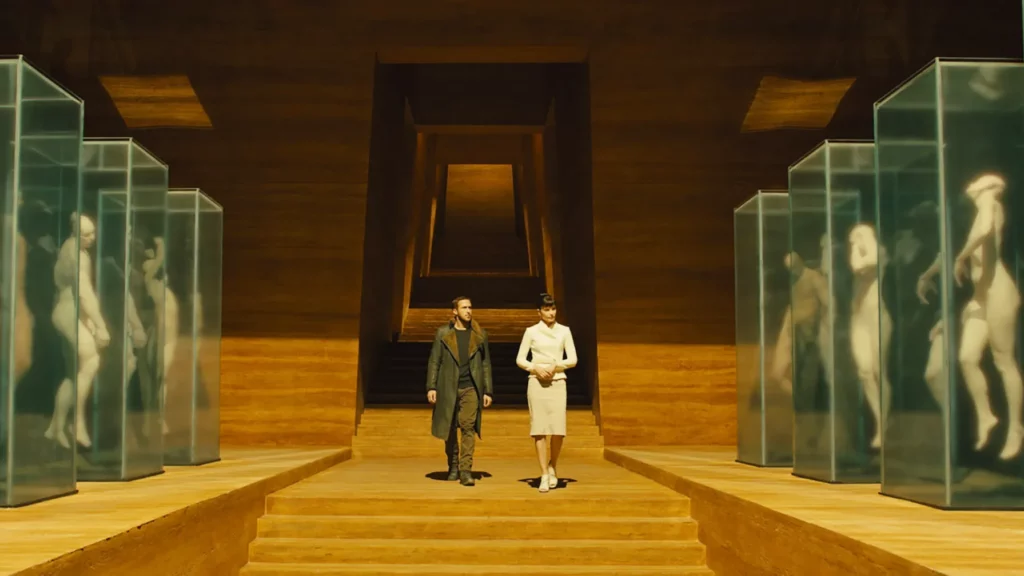
If you watch the work of Roger Deakins, from The Shawshank Redemption to, let’s say, Blade Runner 2049, there’s just a world of difference, even if he is still on the inconspicuous side.
Why the need to buy and own a light?
Obviously, I would rather rent all the necessary equipment for each shooting instead of investing in products that will lose value over time.
But like a camera, sometimes the only way to learn is to experiment with it. The more time you spend experimenting with things, the more likely you’ll be competent with them, and more importantly, you’ll bring something personal.
Experimenting, for me, means using the tool on a daily basis until it becomes second nature. Even when owning the gear, you still need to find the motivation to exercise something new.
Why choose an LED light?
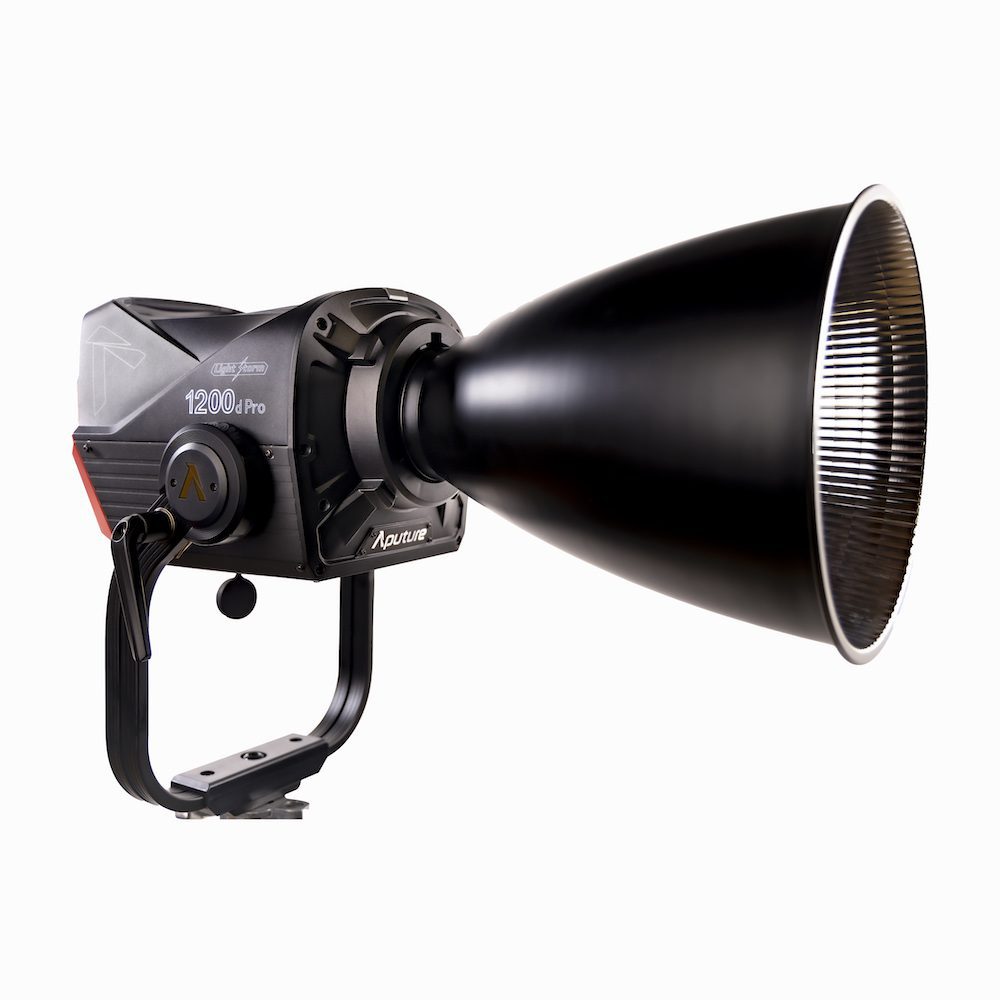
I’ve always felt like LED lights had this weird look to them. Something quite artificial when compared to the sun, tungsten, or even an HMI from Arri.
Even when replacing a tungsten bulb with an LED light in a kitchen, it’s easy to see the difference in quality. Perhaps our eyes have become accustomed to tungsten, fluorescent, halogen lights over time. I still feel that even today, LEDs are inferior when it comes to the quality of light and color.
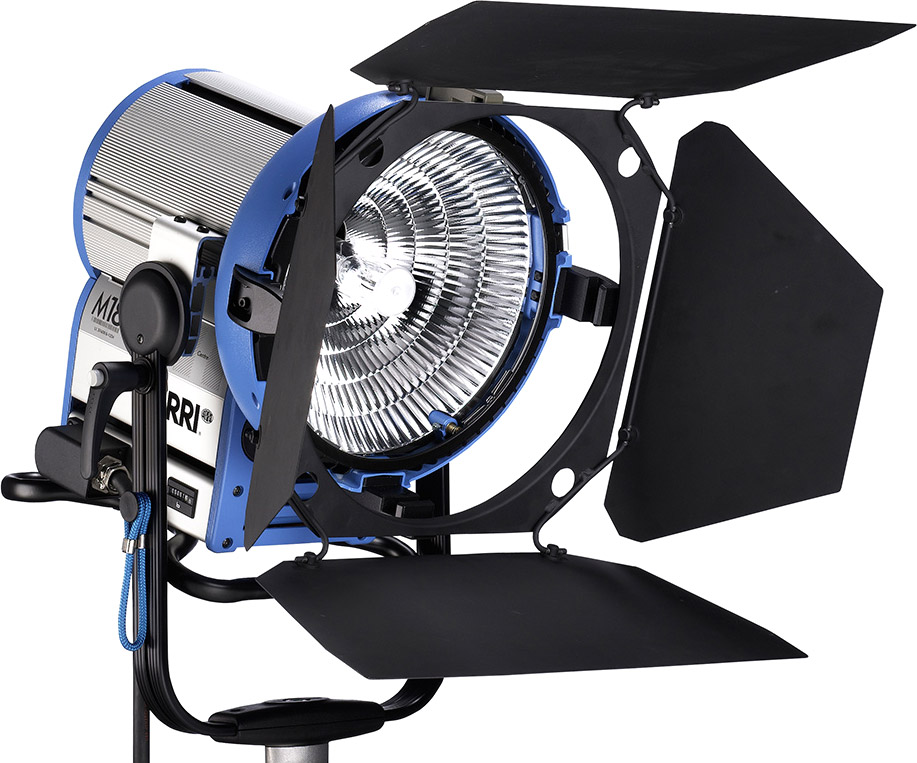
But LEDs have a real advantage that HMIs or Tungsten don’t. They are portable and can be used outside the grid with V-mount batteries. They can basically be moved out of the studio on location without the need for a generator. In other words, they are more convenient, more portable and generate less heat.
The Nanlite Forza 500B II is equivalent in output to a 1.2K Arri HMI. HMI lights are essentially like a ball of fire (Hydrargyrum medium-arc iodide lamp), so the quality of the light they emit may be closer to that of the sun, although I can’t seem to find information about it.
Why choose the brand Nanlite?
Nanlite is a brand I only heard about a few years ago. Since the appearance of continuous LED lights for enthusiast videographers, I’ve always seen the brand Aputure everywhere. I even own some of their products, such as the little Aputure Amaran AL-H198C.
For me at the time, Aputure felt a little bit like DJI and a Chinese company making good-quality, affordable products.
Since then, those two brands have become quite huge. DJI bought back Hasselblad, a Swedish company making very high-end cameras. I don’t think it’s arguable that DJI has become by far the leader in commercial drones. They are even used in wars today and are more effective than some military-grade weapons.
Aputure used to make some decent light for enthusiasts, but today, with some continuous iteration, they have built a professional lineup that is used in most independent productions.
Nanlite is basically a competitor that has dived into this market as well, just like Godox is to Profoto. Except that Profoto is American.
Nanlite is also the brand used to sponsor one of my favorite film makers on YouTube, Jacques Crafford. He is actually kind of a model for me, since he is creating some amazing videos while working on small-scale production.
I tend to judge a product based on the results it can deliver rather than on its technical aspects.
Why choose a Forza 500B II?
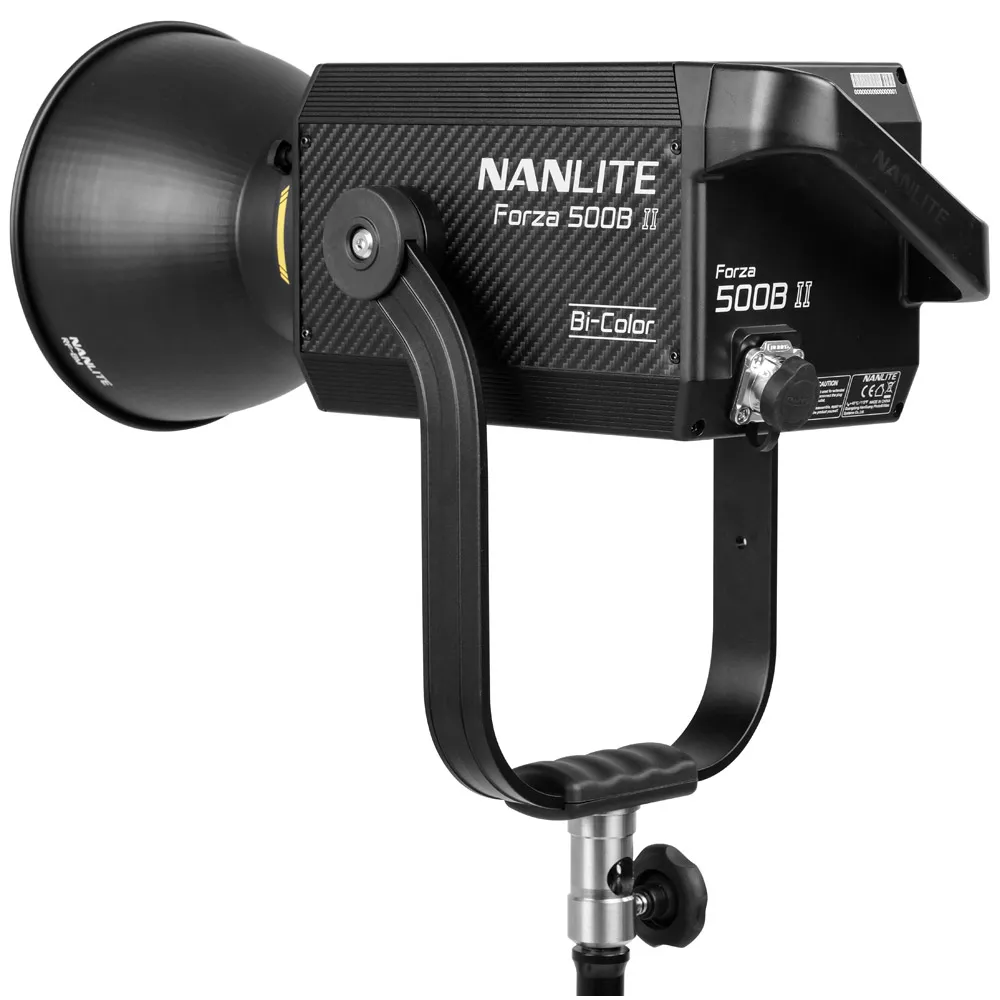
Again, I have been highly influenced by Jacques Crafford in my decision. I knew that if I were to own one light, it would have to be the most polyvalent tool.
Strong enough to hold its own against the sun on overcast or partially cloudy days, with bi-color functionality for both daylight and tungsten white balance.
Why not a Forza 720B?
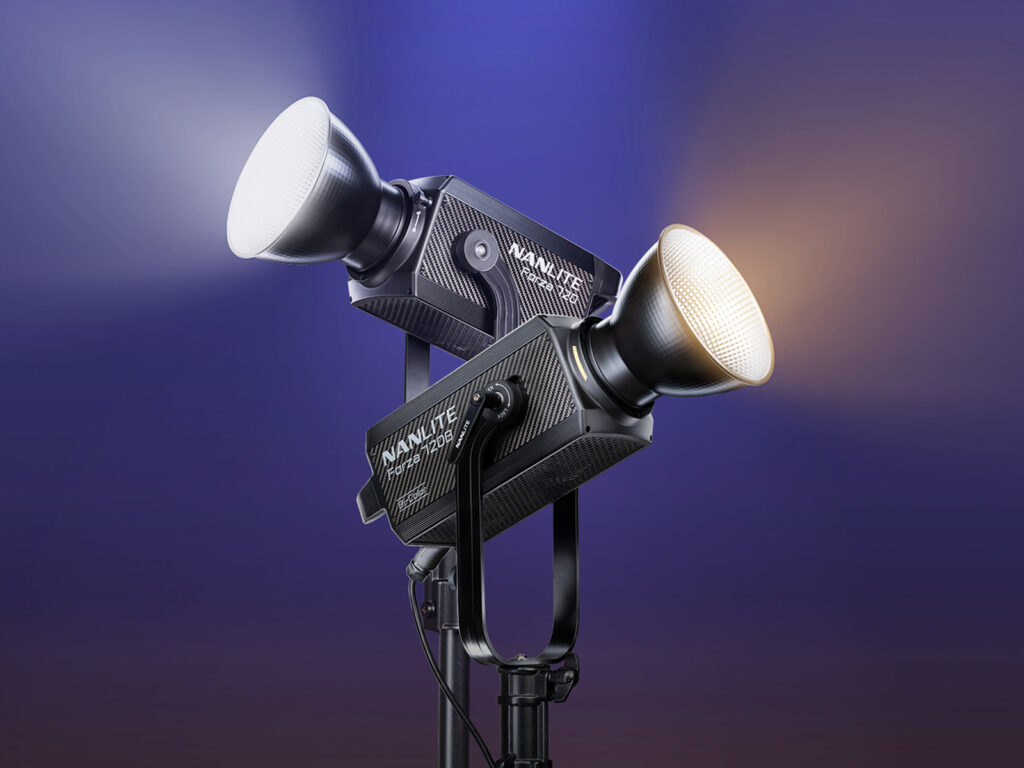
This meant that it would need to be powerful enough to compete with the sun, and if the 720 or 720b are better for the job, 500 watts seems to be the perfect middle ground to keep a little bit or portability.
That’s right, portability is another requirement for a continuous light these days. If you can’t bring a light on location or when you travel, for exemple, the light becomes essentially a studio light, which is not something I was aiming at.
Also, the 720b can only be powered at 65 % with two 26 volts batteries. Whereas the 500 B II can be powered at 100 %.
This means that unless you have a generator or a very large battery like the Ecoflow River 2 Pro or the Delta Pro with AC power, this light won’t be able to power the 700 watts.
Why not a Forza 60B II?
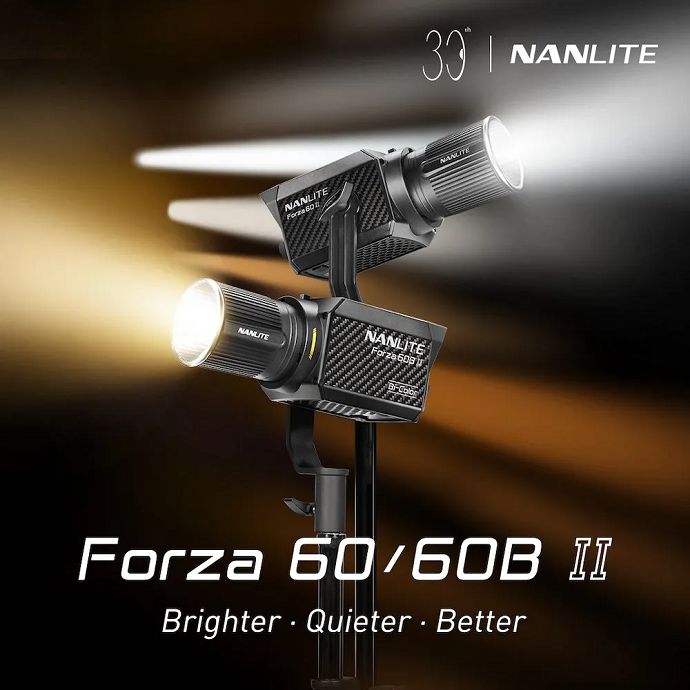
If a Forza 60B II would definitely do the job most of the time, the issue comes when you need a modifier, such as a softbox, to soften the light and produce a more pleasing light. The bigger the softbox or source of light, the softer the shadow. To power a big softbox and have distance between the subject and your light you might need a stronger light than the Nanlite Forza 60B II.
Sometimes you need to reproduce sunlight. For example by shooting light through a window. To achieve this 500 watts is the minimum.
Why use a bi-color light?
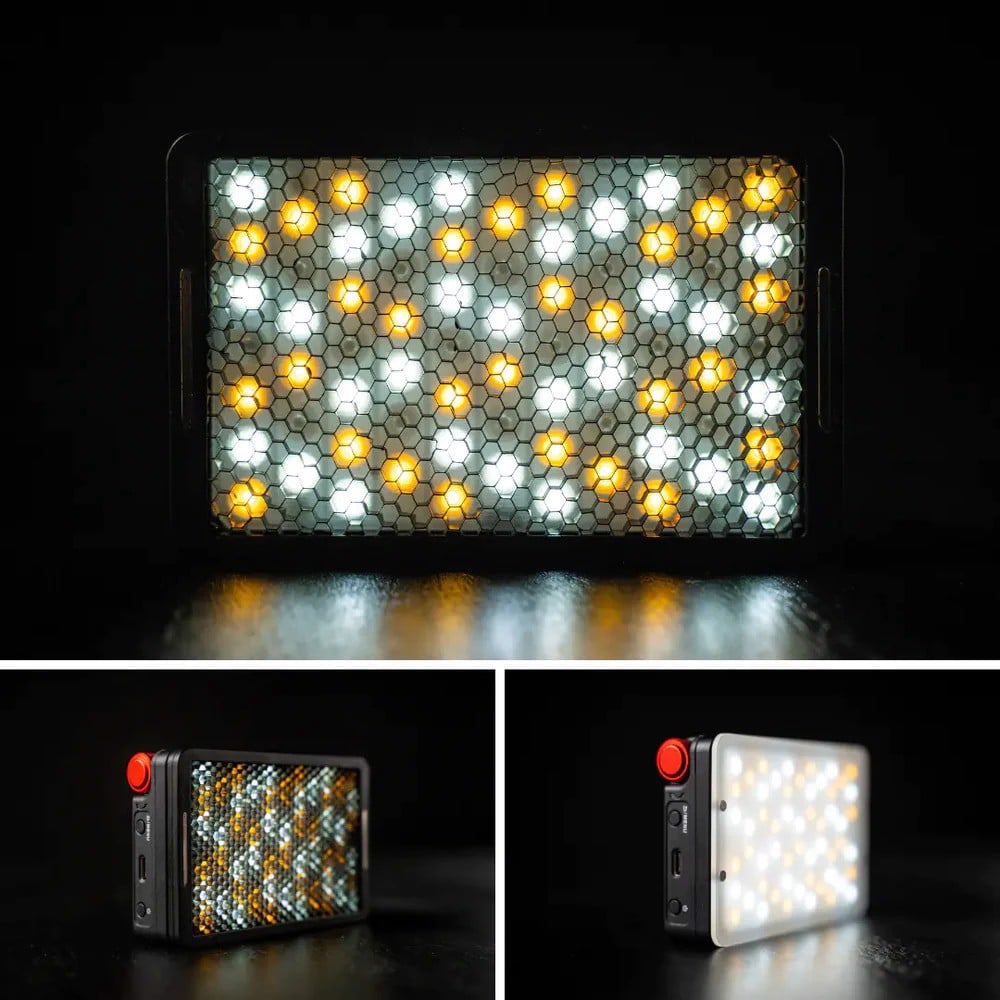
There are pros and cons to both bi-color and daylight lights. Daylight lights can often produce a stronger light since they just need a big, powerful COB instead of many small LEDs with different colors.
Daylight lights also tend to have better and cleaner shadows since the light only comes from one source.
The pros of bi-color light, as the name suggests, are the ability to switch between warm and cold light and all the shades in between. This particular light, for example, goes from 2700 to 6500 Kelvin with the turn of a knob, which makes the need for gels useless.
If it’s easy to go from white light to tungsten light with gels with ease, first you’ll lose a good amount of light, and second, for everything in between, you’ll need to have tons of gels, even perhaps stacking some on top of each other. This can quickly become a hassle if the light is out of reach.
With a Nanlite Forza 500B II, everything can be controlled via the app on your mobile phone, which is quite handy.
Do you need more than one light?
Obviously, you’ll need more than one light. But perhaps for most projects, you can use one strong light, such as this one, and tons of smaller lights, like a Foza 60B II and some Pavotube.
Ultimately, I think that you’ll need at least 3 to 5 lights to make a scene interesting by today’s standards. To give your image some form of shape and dimension, unless you are a crack like Chivo using natural light.
How does it compare to Aputure lights?
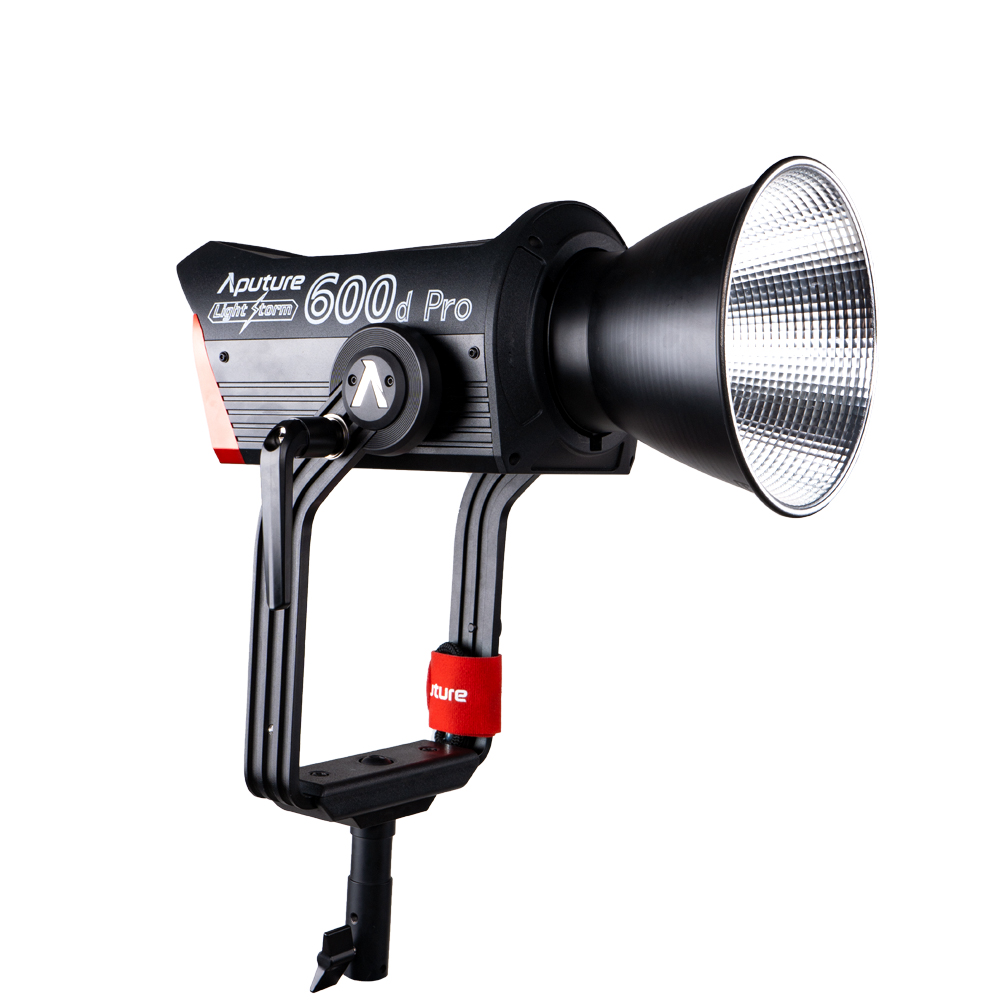
Aputure lights have become the standard when it comes to LED lights for filmmakers. These products have gone up in range and in price as well.
I think Aputure still has the edge when it comes to innovation and quality. For example, their softbox Dome II is more polished than the Nanlite ones, in my opinion. They have thought of small details, such as making the softbox as round as possible by separating the ends of each rod into two sections to multiply by two the number of edges.
To be fair, I feel like Nanlite is copying what Aputure makes right, such as the bags. The Nanlite Forza 720B has a case that can also be used as luggage with rollers. This was basically the case for the Aputure 600D case.
The Aputure 600D Pro seems to be quite more expensive than the Nanlite Forza 500 II. About 25 to 30% more expensive.
Aputure also has the best mobile app, according to users. Their products are perhaps a little bit more polished overall. For example, the handle of the Nanlite product is slanted, which makes it less ergonomic compared to a straight handle. But Nanlite is catching up very quickly and even does a better job in some other areas.
Where Nanlite shines is in the quality of the light and color reproduction. The CRI and SSI of the Nanlite product seem to be slightly more accurate. It even has a magenta and green shift option for you to match your light with the other ones in the set. Those slightly better numbers are, in reality, negligible.
The light using the Nanlite reflector seems to have a lower output but a more consistent light. Whereas the Aputure has a clear hot spot when using the reflector.
The Aputure LS 600x Pro is selling at a price of 1879 euros HT. That’s considerably more than what I’ve paid for a 500B II; that’s what steered my decision into the Nanlite ecosystem.
Aputure is known to have a better design and build quality overall. The Pro model has some form of weather resistance (IP54). It’s hard to know if they will last longer than Nanlite products, but people tend to think so.
My review of the product
Bear in mind that this is my first real light. I’ve worked in the past with other types of lights and other LED lights from Aputure, so I still have a bit of an idea for comparison.
The packaging is very reminiscent of Aputure products. They are often packaged in a bag inside a box. The bags are basically custom made for the products to fit in, so much so that you’ll most probably have to remember how it was setup to put it back later on.
The bags
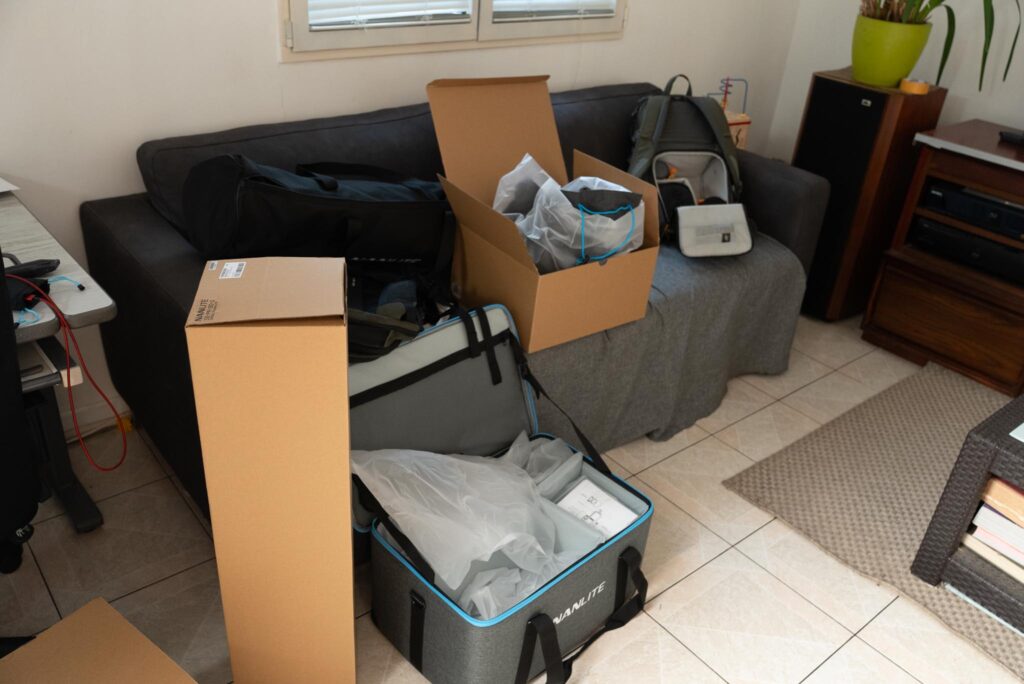
The bags feel decently made and seem to be quite durable compared to previous versions. If I think they would stand the test of time, I still think that they are an offered bag, so they won’t replace something like a pelican case.
I honestly was a bit disappointed to see that the bag wasn’t a suitcase-style bag with rollers and a handle like you would get with the 720b.
Since the light is quite heavy, the light head comes in at 4.34 kg, while the control unit is an extra 3.58 kg. If you add the cables and accessories to the mix, you’ll basically be carrying an extra 10 kg. This means you’ll probably need an assistant just to handle this light.
The light head
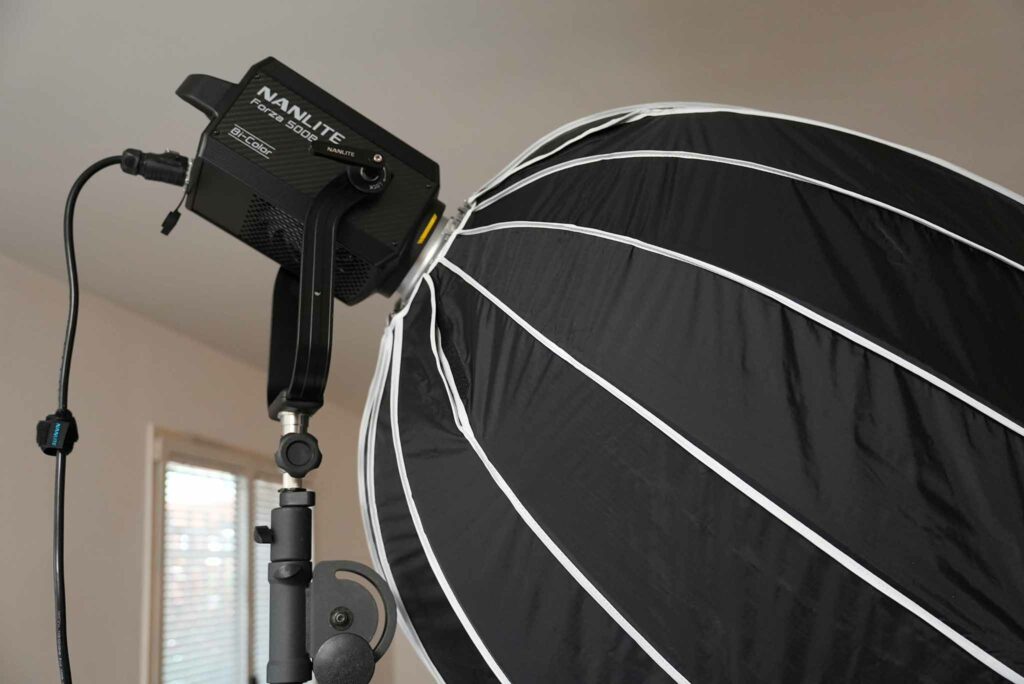
The light head is quite heavy and well built, and as I’ve heard, they made many improvements over the last series of 500 lights.
They are not quite weather-resistant at the moment, but they are sturdy enough to last you some long years with a decent amount of abuse.
The clamp has been updated to a one-hand operation, which is handy, and there is a bit of friction even when unscrewing to prevent the light from rotating abruptly.
The head is using a Bowens mount, which is ideal since it’s the most popular mount for light modifiers. You’ll be able to use with ease other products from other brands; just keep in mind that each product has been calibrated with in-house modifiers.
The leds now have the protection of frosted glass to avoid any contact with the small leds. This is also a better design.
The light control unit
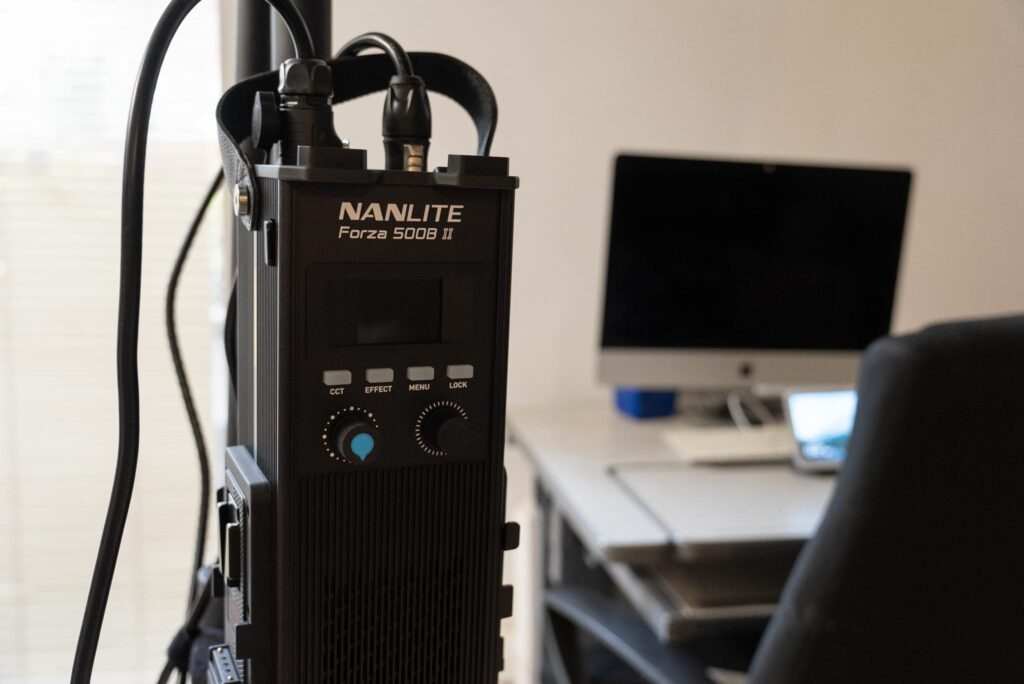
The light control unit has been revamped and is much closer to what Aputure offers. I would even say that the knobs are actually more ergonomic than the wheels on Aputure. This comes at the cost of practicality while laying the light flat.
The increment when lowering or powering the light is 0.1%, which is quite handy for fine-tuning your output.
You now have a magenta and green shift option that will let you dial in precisely the color of the light to match your other light on set. That is a huge feature, which is actually why I consider this light in the first place.
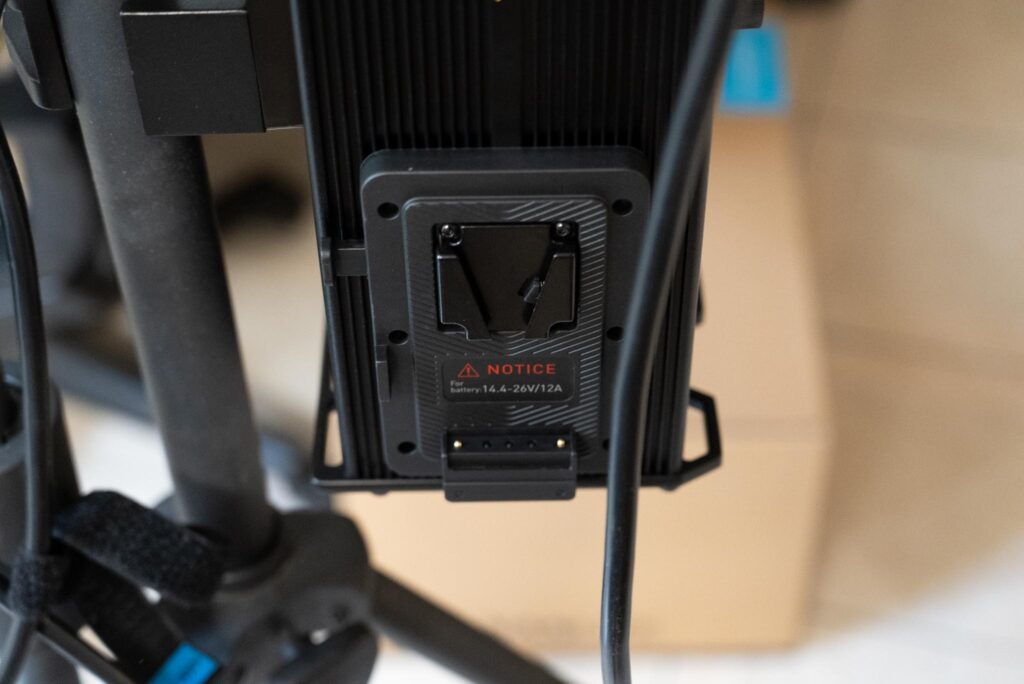
The control unit is very well made and quite sturdy. It’s much smaller than the previous version, and it now lets you add some V-mount batteries on the sides. The battery needs to be 26 volts for you to be able to output 100% of the power of the light.
There’s also a V-mount lock for you to fix it to the included clamp that you’ll fix on the light stand.
The cables
The cables that come with the light are of decent quality, even though the section that will connect to the AC output is made out of PVC.
Both cables are decently long, but longer would have been welcomed. Also, the cable can’t connect to itself to let you connect multiple cables to get a longer length.
Overall, if the cables are decent, they are not as good as what Aputure offers with their 600d, both in terms of quality and length.
The bowl reflector
This is one of the main advantages of Nanlite lights over Aputure ones. The reflector, and more precisely, the light coming out of the reflector, is more even than the Aputure.
The Aputure exhibits a strong hot spot in the middle and falls off on the side, whereas the Nanlite shows a lower output but even light.
The quality of the light
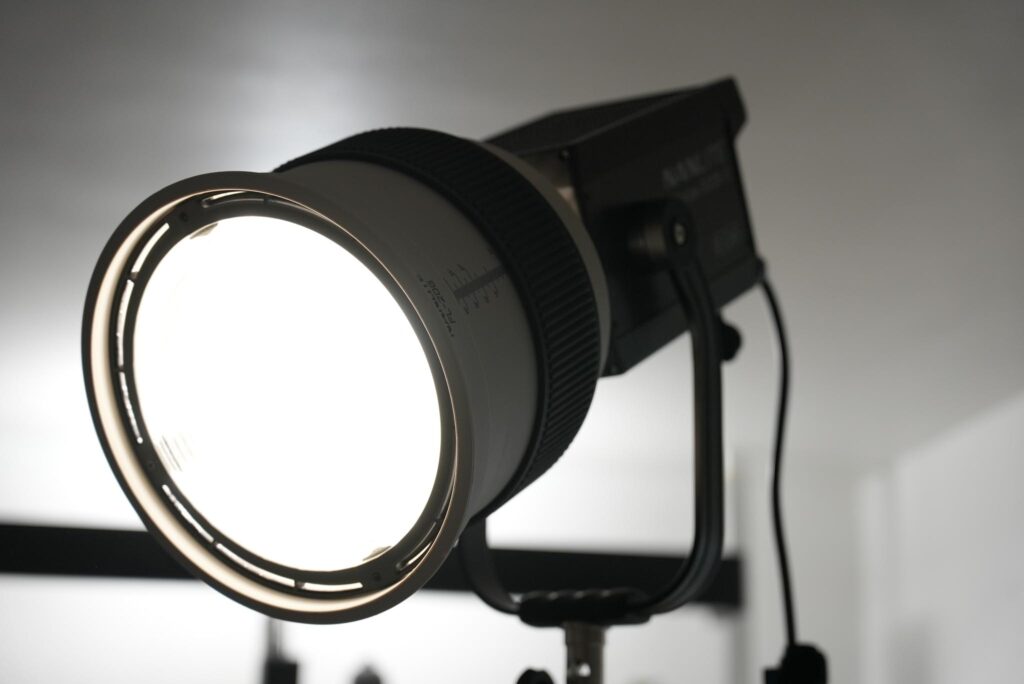
I won’t go too far into this section simply because I don’t have the tools or the skill to analyze this light with precision.
There are far better people for this; that’s why I will share with you one of my favorite YouTube channels when it comes to light gear.
The light output is quite strong, but to take advantage of most of the power, you’ll need to use a light modifier such as a fresnel or a reflector.
I use this light with a 90-cm softbox, and the light coming out of it was decent. I used two diffusion sheets and was hoping that the light would come out very flattering.
Since I don’t have a lot of experience with this type of lighting at the moment, all I can say for now is that the lights are very different from what we’re used to seeing.
Sunlight and tungsten light are references that LEDs try to reproduce, but due to the nature of their technology, blues are much too prominent.
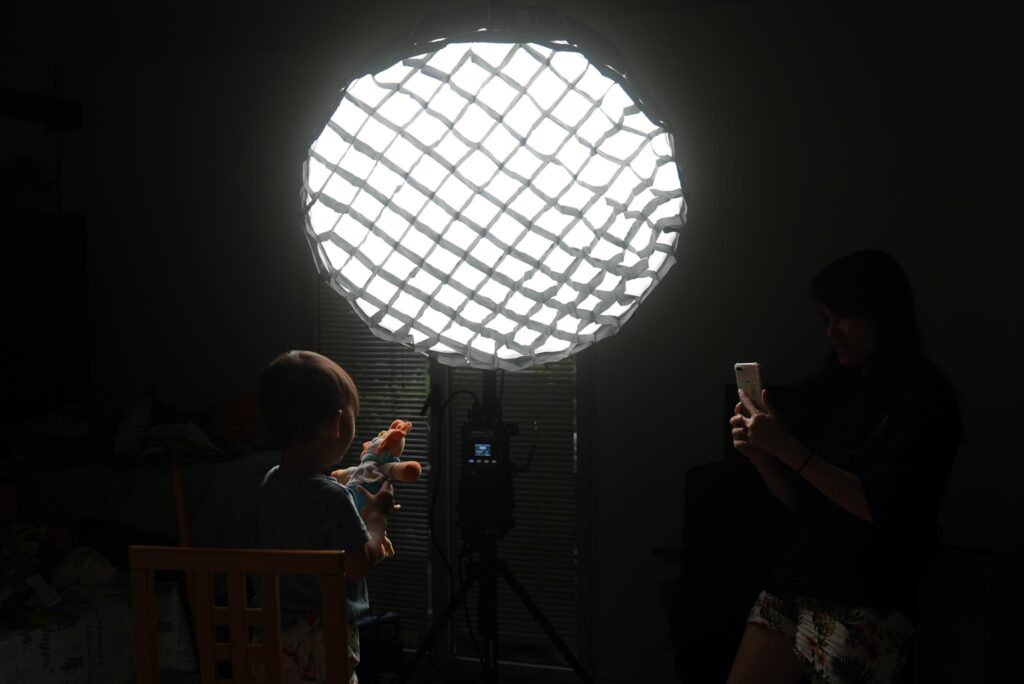
Obviously, I haven’t really played with this light long enough to really take advantage of it. This is just a first impression, and I will regularly update this section to improve this review.
How to measure the quality of the light?
To measure the quality of the light, we are using a device called a spectrometer, which is usually a Sekonic C800 that costs a whopping 1800 euros.
This tool analyzes the light to give a score on multiple metrics, and most of them are honestly old or irrelevant for filmmaking.
The CRI

For example, the CRI, or Color Rendering Index, was used to measure the color accuracy of a light source in the 1960s using just 8 colors as a reference.
The CRI is what most brands advertise, usually getting an average score of 95 or 96+. If this metric actually analyzes colors, it is based on human vision and not modern CMOS sensors.
The Extended CRI
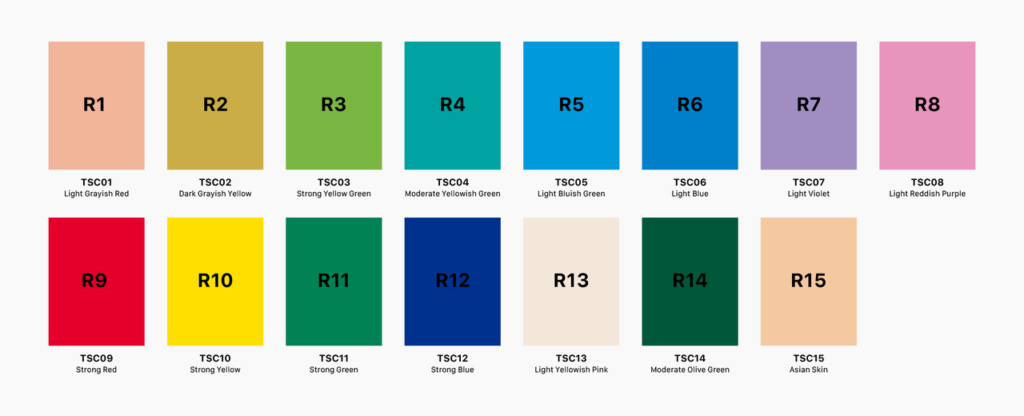
The extended CRI is basically the addition of 8 colors to the original CRI palette, getting 16 colors named from R1 to R15 + Ra.
Also, as you can see in the graphic, the blue channel is quite far from the ideal score of 100. The most important channels for accurate skin tones for Caucasian people are the R9 and R13 channels; for Asians, R10, etc.
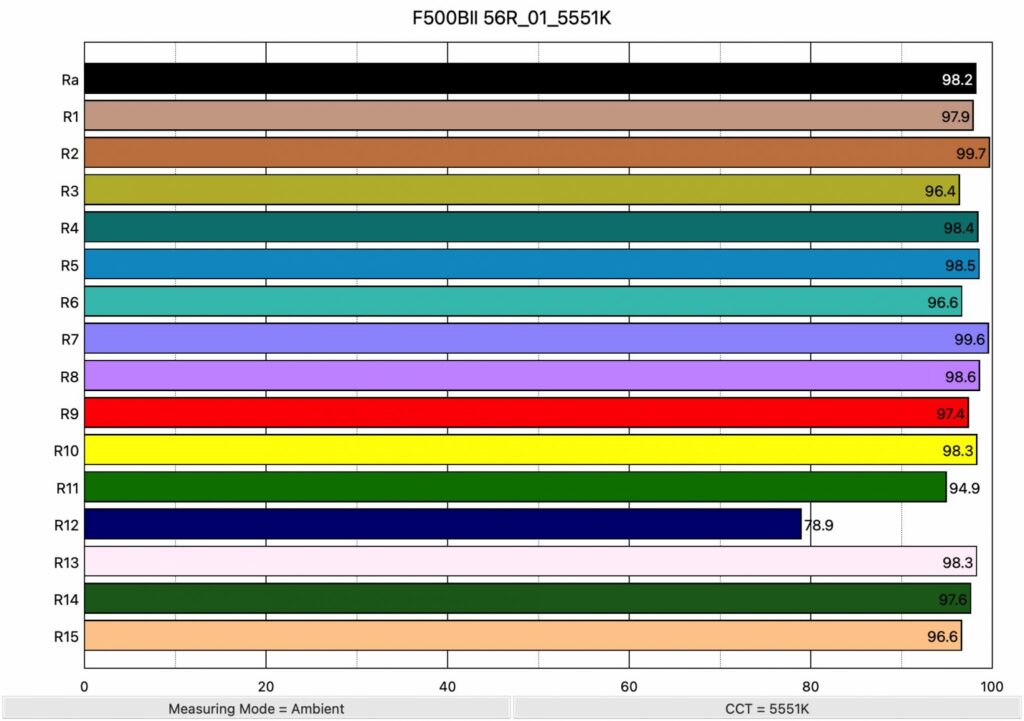
As you can see, the extended CRI can be analyzed in any of the Kelvin settings offered by bi-color lights or even full RGB lights.
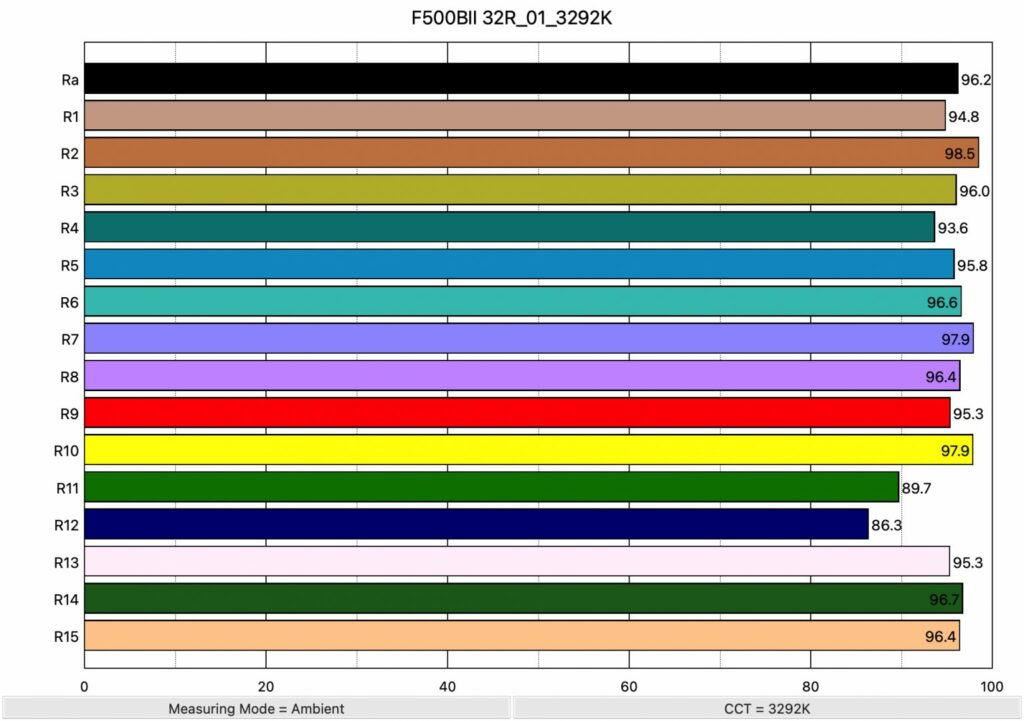
The results and the quality of the color reproduction will vary depending on the temperature settings of the lights, the most important ones being 5600K and 3200K, both representing the temperature of the sun and of a tungsten bulb.
The TLCI
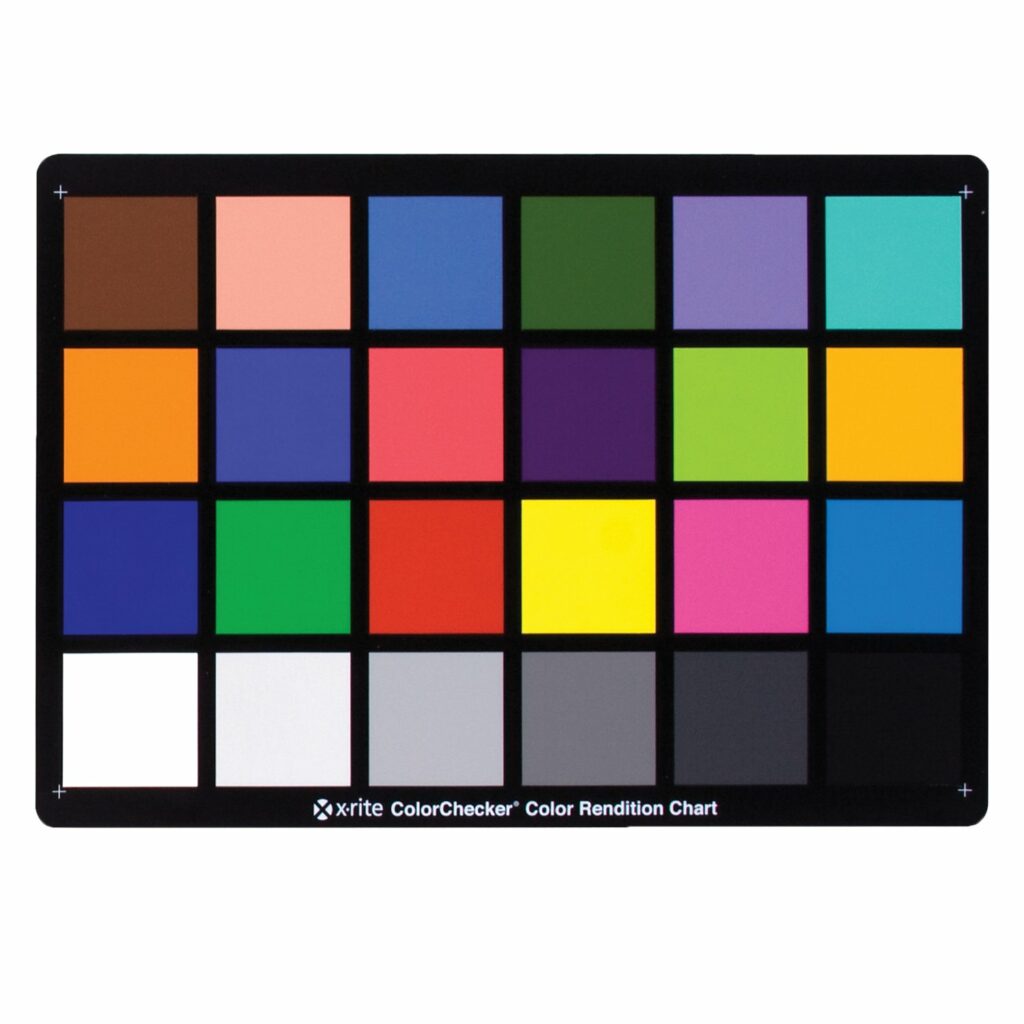
The TLCI or Television Lighting Consistency Index was created to standardized colors and lighting quality for broadcasting.
These are well known in the industry, which uses cards such as X-rite ColorChecker, also known as Gretag Macbeth Color Checker. This tool is actually very handy to fix the colorcasts produced by your sensor and the color science of your camera in post-production.
This is a combination of the most important colors to reproduce colors in nature such as skin tones, foliage, etc.
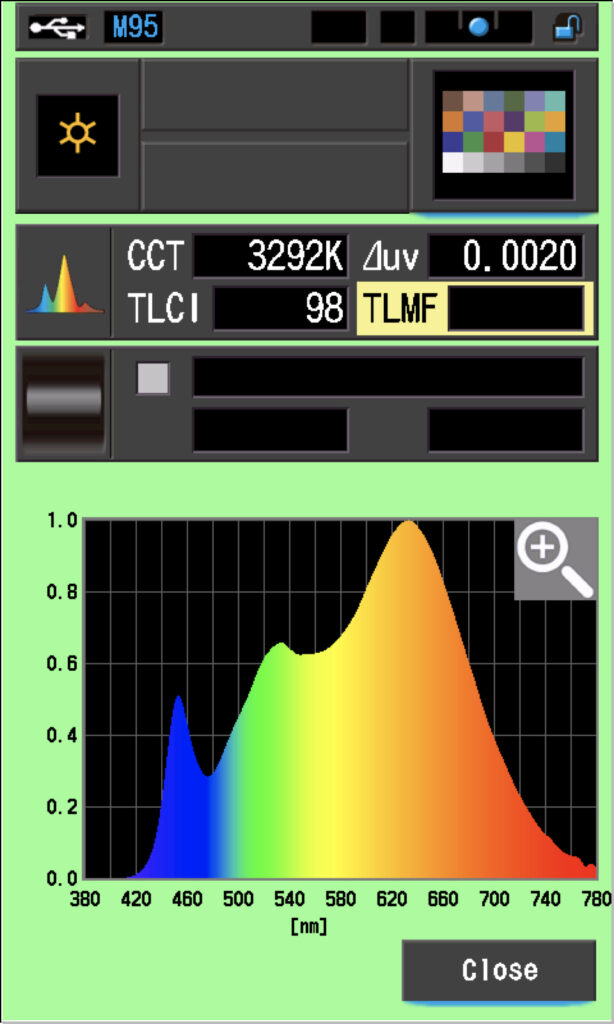
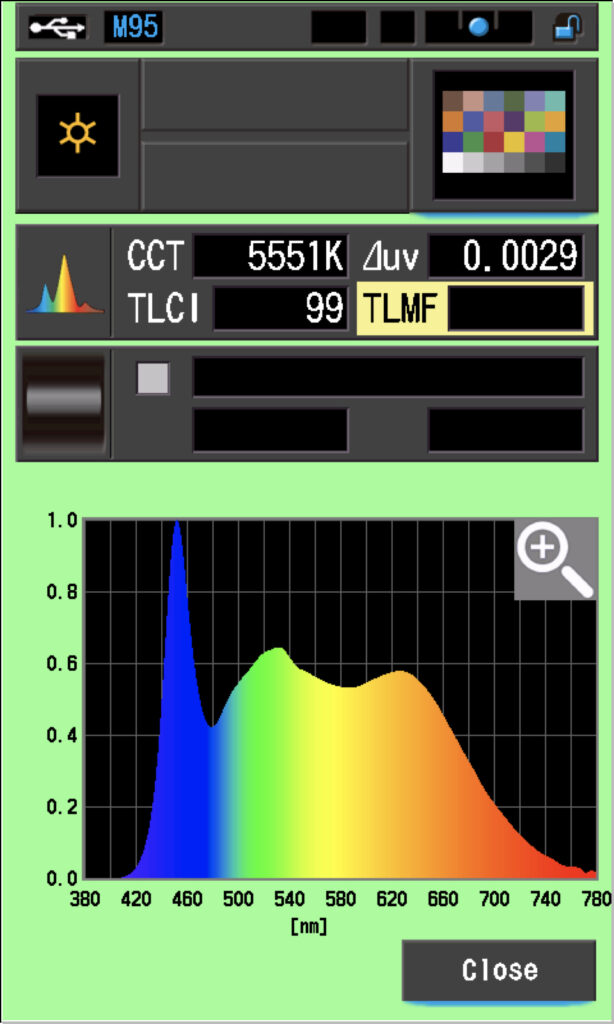
The TLCI, or Television Lighting Consistency Index, was created to standardize colors and lighting quality for broadcasting.
This is a combination of the most important colors to reproduce in nature, such as skin tones, foliage, etc.
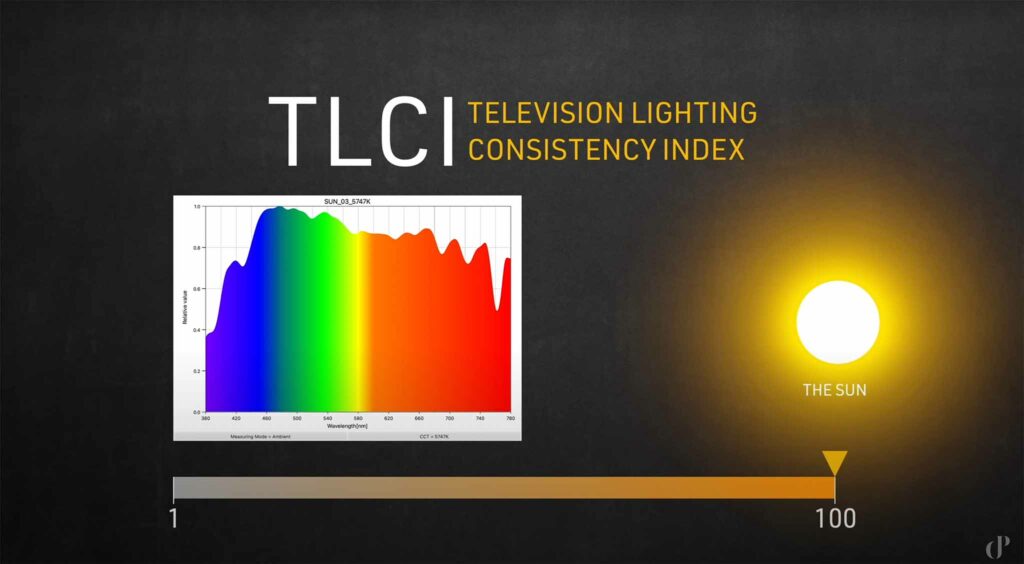
The issue with these high respective scores of 99 and 98 is that, when compared to the spectrum of the sun, the graph doesn’t look nearly the same.
The TM30
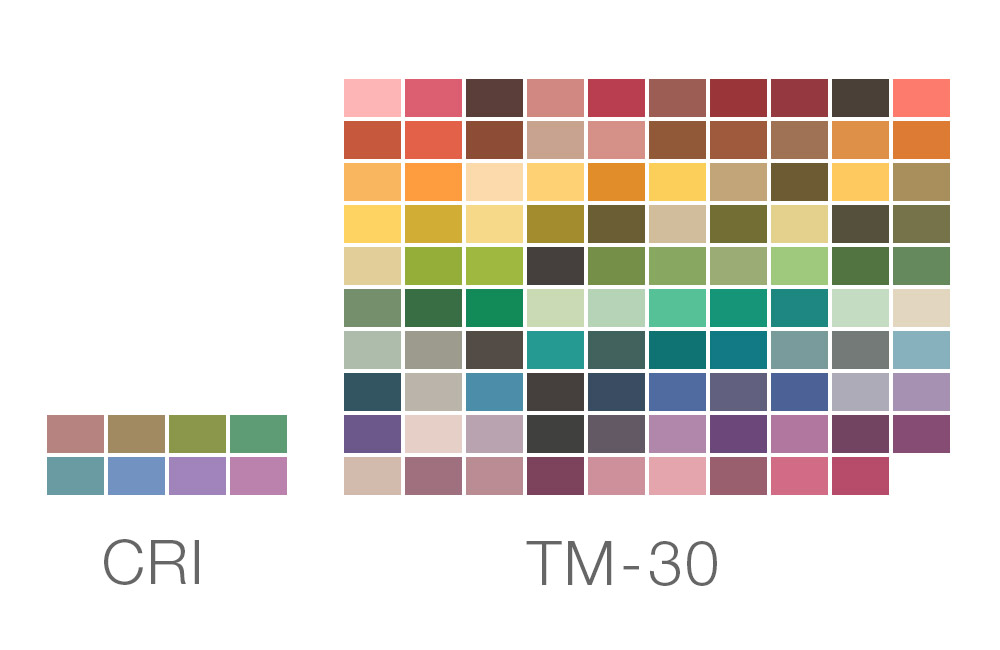
The TM30, or Technical Memorandum-30, is basically the updated version of the CRI with 99 colors. This standard is frequently updated.
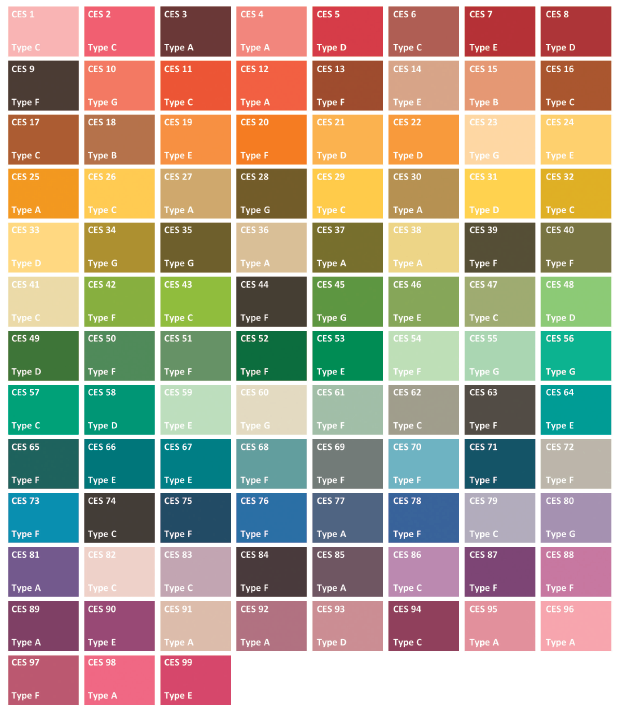
For each iteration, you’ll basically get a dash number after the TM30. In this example, on top, the chart corresponds to the 20th iteration of the TM30, so TM30-20.
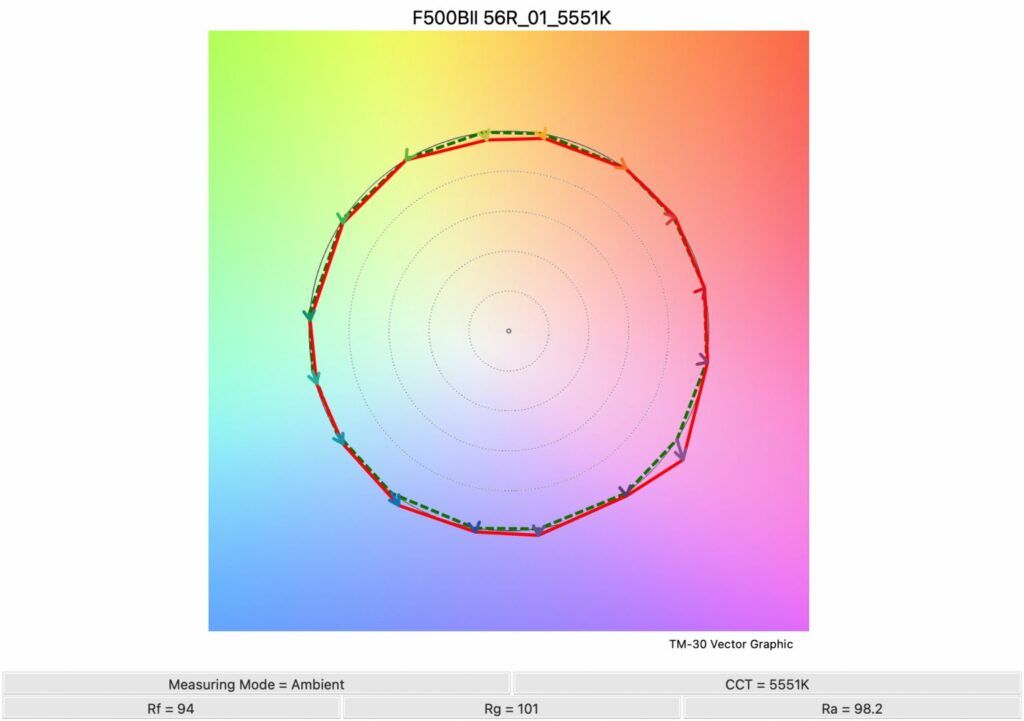
As you can see, the TM results, even if they are lower than the CRI, are actually still high for the Forza 500B II.
The shift in Kelvin to 3200 doesn’t seem to lower the number in color fidelity, or Rf. The TM30 also takes into consideration the saturation, or Rg.
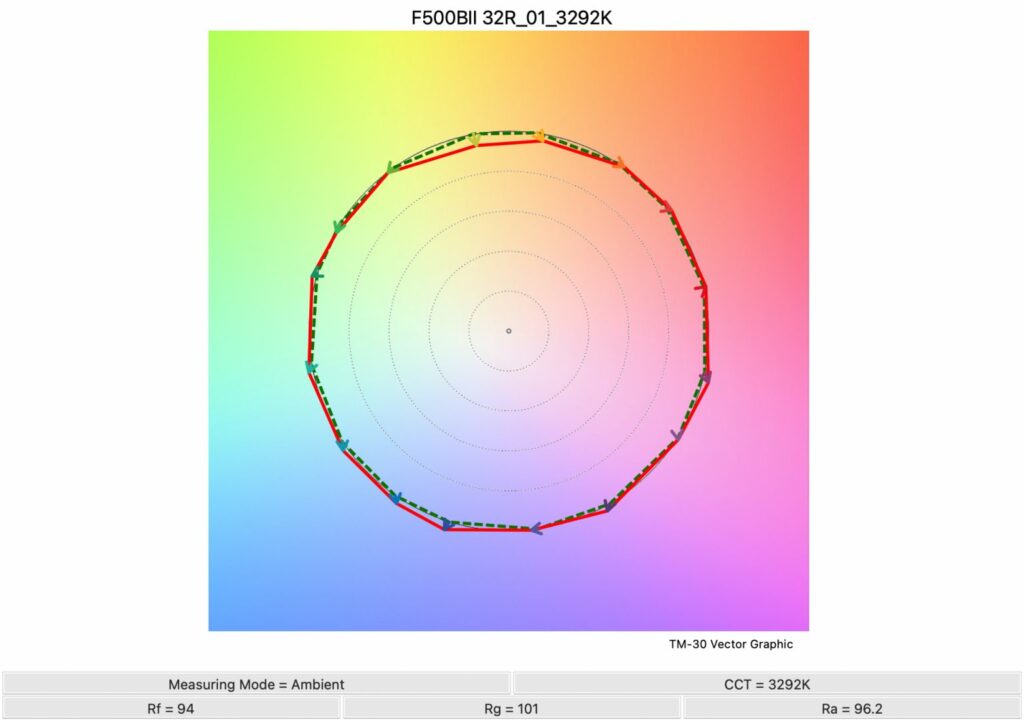
More colors to analyze means automatically higher fidelity, which is a much better solution than the standard CRI, although this solution still relies on human vision.
Is the SSI Score the perfect metric?
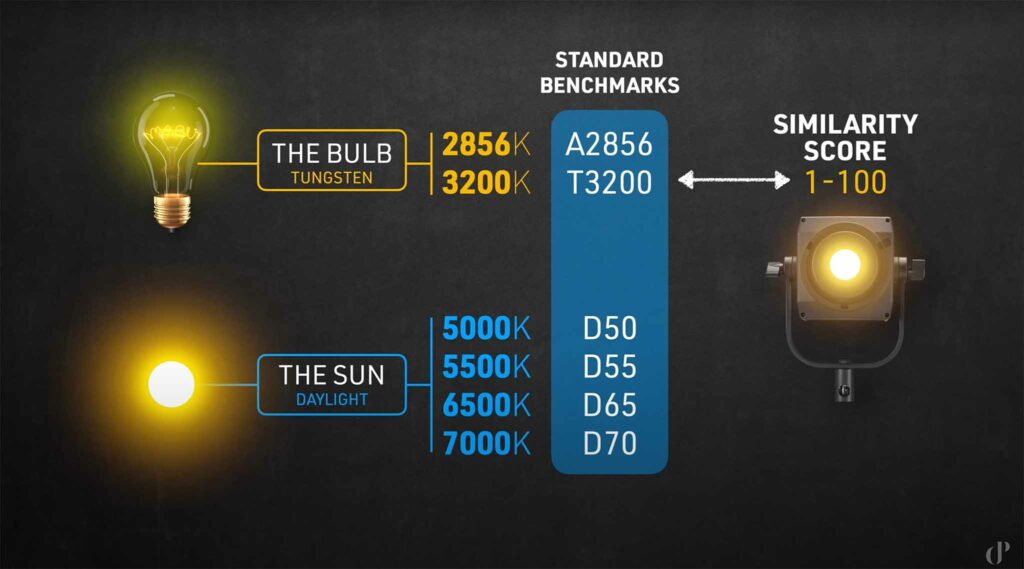
The perfect metric has to be accurate, objective, and universal, covering many industries, including video production.
It has to measure against not 8, 16, or 99 colors but the full visible spectrum when lighted with the sun or a tungsten bulb.
This method is called SSI, or Spectral Similarity Index developed by the Sci-Tech Council of the Academy. It uses standard benchmarks, and gets results as a similarity score.
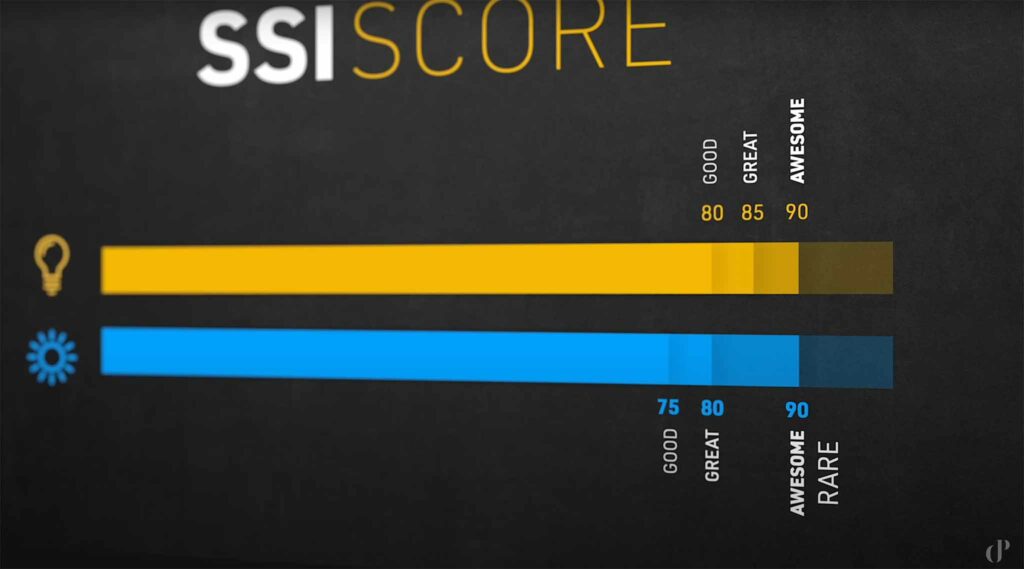
These scores are based on 100, and a good score for tungsten varies between 80 and 85, being the point where the light has a great reproduction. Anything around 90 is reaching the maximum realistic score.
In daylight, this is harder to reproduce. This makes sense, as reproducing the physical reaction of a sun is quite impossible compared to a light bulb, which is essentially fire. That’s why we consider 75 to 80 to be a good score, while anything above 80 is a great score. A score of 90 or above is extremely rare.
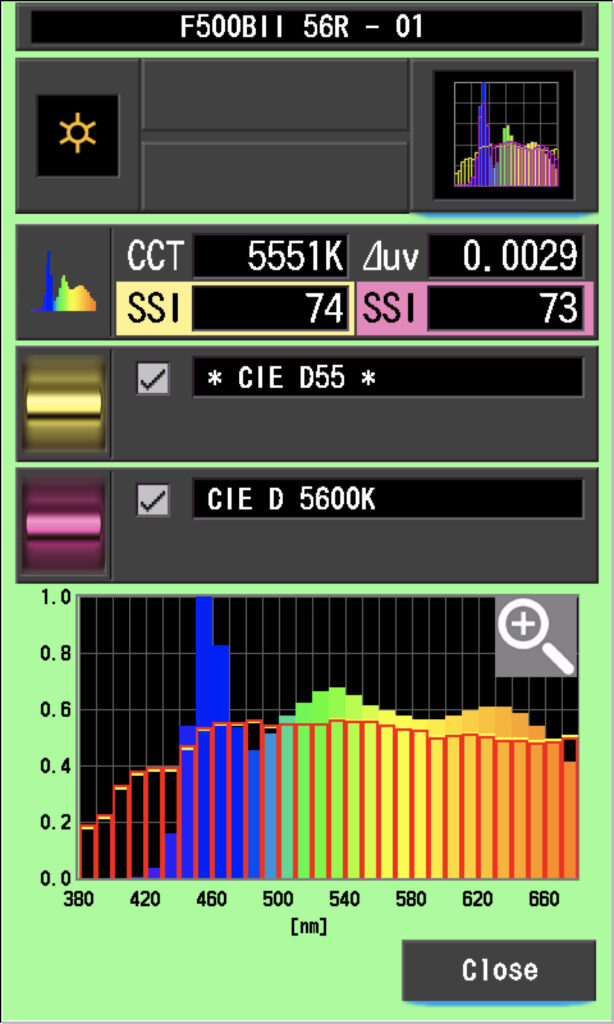
When it comes to daylight, more precisely CIE D 5600K, the Nanlite 500B II scored an SSI of 74, which is typical for a LED light.
To give you another point of comparison, the Aputure 600x Pro, which is basically the main competitor of the Nanlite Forza 500B II, scored an SSI of 74 as well, while the Aputure LS 600d Pro scored an SSI of 72.
When compared to higher-end LED lights such as the Arri Orbiter, which costs 4500 euros, the Orbiter scored an impressive 85 SSI, which is pretty high by LED standards. At the moment, only Prolych and Arri are capable of delivering these types of scores, and they are the higher-end options.
The only two models that have a high SSI score are the new Amaran S series, with scores around 85 to 90+ SSI thanks to their dual-blue chipset design, and the iFootage Anglerfish series, with a score of 84 SSI.
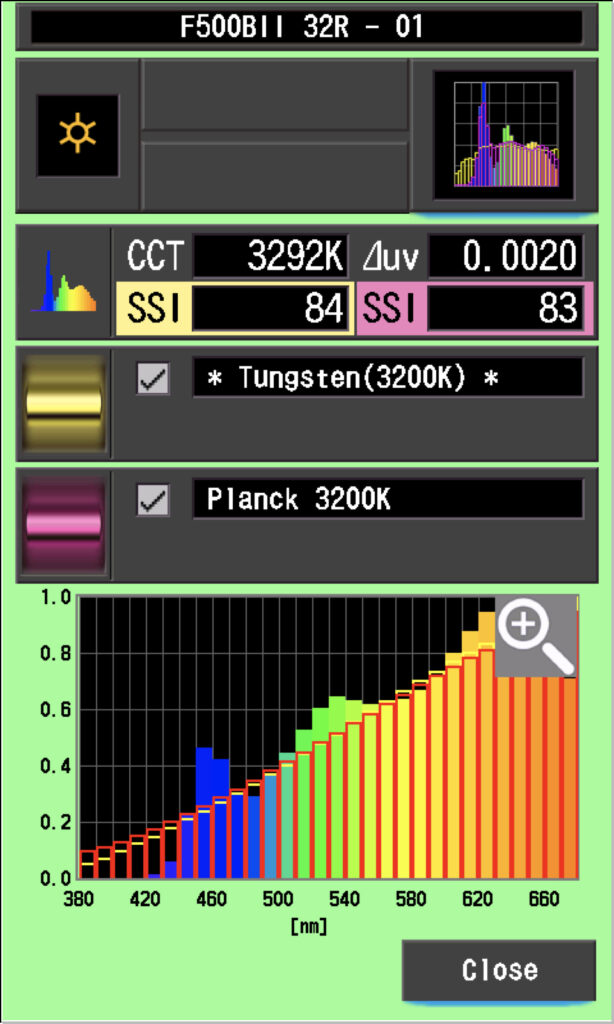
As you can see, the 500B II is in the typical range for LED when it comes to SSI in daylight. Since then, new technology has significantly improved the SSI score.
Perhaps these new technologies are waiting to be rolled out in newer models; who knows?
Is SSI the definitive metric ?
I don’t think SSI is the definitive metric; it might be the most accurate metric as of now, but at the end of the day, your eyes as a member of an audience watching the final product on the targeted media are the definitive answer.
We’ll always find some new criteria on why LED doesn’t perfectly match Sunlight or Tungsten. Sometimes our eyes get used to a form of visuals. That is especially true in cinema, where, for example, people tend to like a filmic look better than a realistic one.
Lightning has really become more than just a naturalistic representation. Now, lighting while still retaining a form of realism is also like a way to sublime an image or punctuate some emotions.
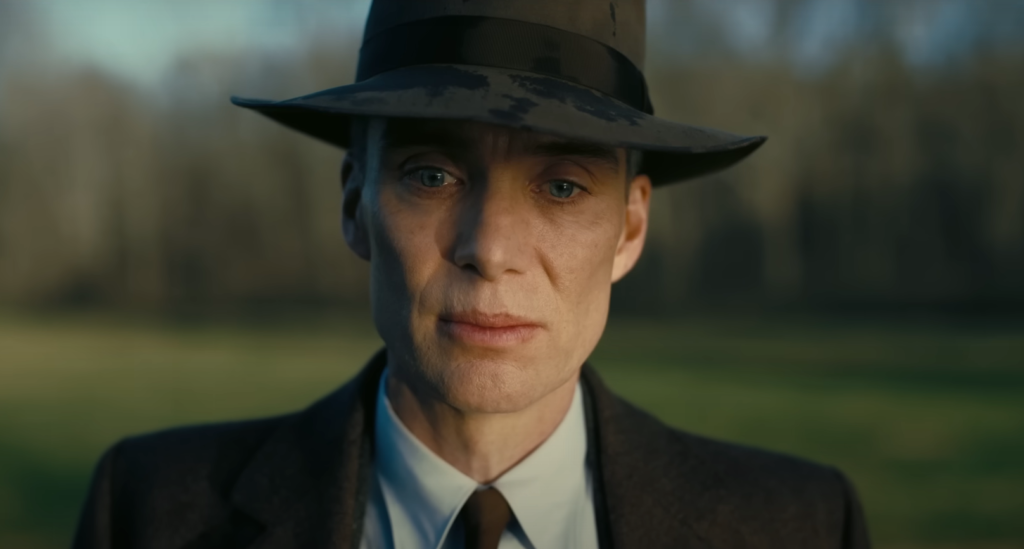
That’s why having the most faithful color reproduction isn’t the only criteria. I think we are very used to the quality that Arri lights such as Tungsten lights, HMIs and Sky Panels are providing, just as much as we are used to the color science and look of the Arri Alexa.
You also have to keep in mind that cinema has a pleasing aesthetic as opposed to reality. It’s an enhanced and poetic version of reality.
What does owning a light require ?
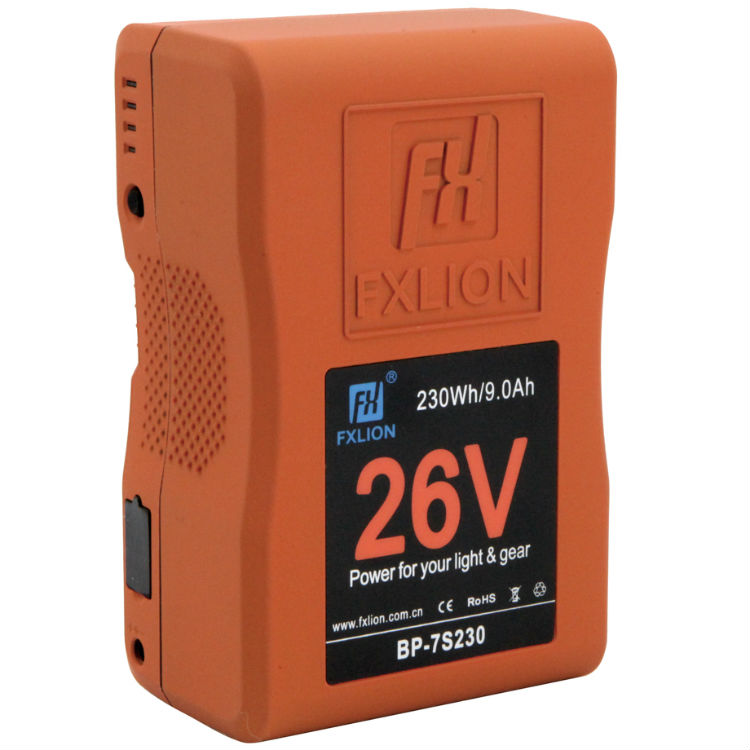
Once you take a light dive into this domain, it’s quite hard to keep track of your expenses. Lights need batteries, and a single 26-volt battery costs around 400 euros.
A decent light stand costs another 500 euros and weighs around 10 or 12 kg. So owning a light setup is something you should really take the time to consider before jumping into it.
You’ll also need a softbox, a fresnel and possibly a projector mount.
If you start to own tons of gear, you’ll ultimately need a van, and at this point, why not just rent your gear or recruit a gaffer for the job?
My idea behind buying this light was to learn how to light a scene and experiment as much as possible without having to rent one.
Also, as a small crew production, even one or two men band at times. We felt like owning a couple of lights would mean that our production value would highly grow since, at the end of the day, a good production is one that is able to deliver beautiful and impactful images.
It’s a non negotiable step as a film maker and aspiring Director of photography.
What is the lightest setup indoors and outdoors?
I think for portability when on location outdoors, one light and some pavotube would be the ideal amount of lights. Keep in mind that you’ll most likely need an assistant or a stand for these lights.
If you are in a location indoors, such as a studio or building, you’ll probably need at least one more light; sometimes a 60B II will do the job perfectly.
Having two big lights will really improve your game. Ideally, you would need a 720B, a 500B II, and a 60B II with multiple pavotubes and other accessories, such as a hazer and some practical.
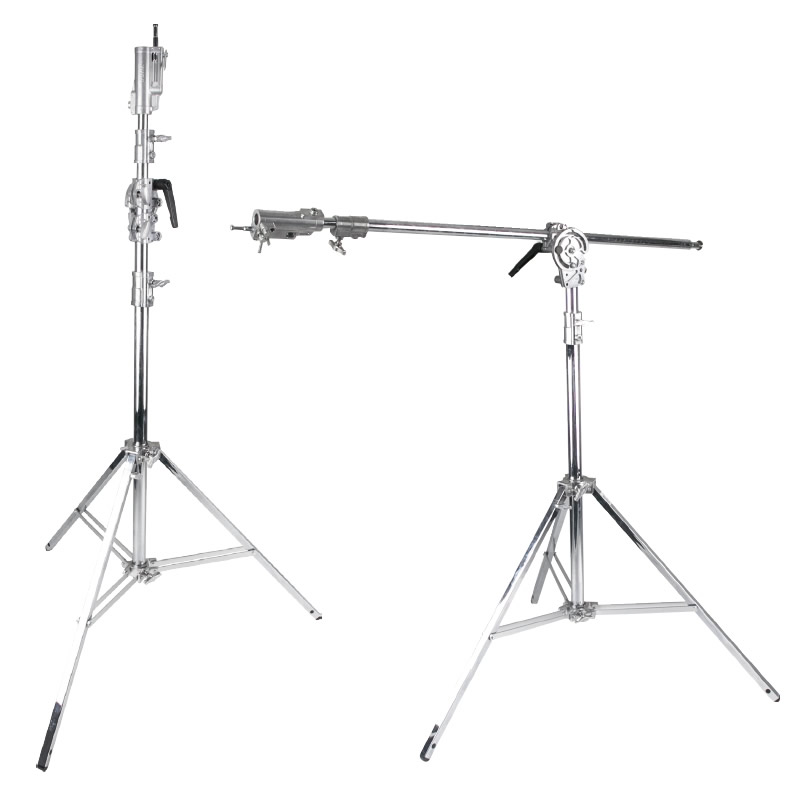
Having a real and sturdy combo light stand is a must as well. Since you’ll probably need to put the light high and sometimes in the ceiling, aiming down.
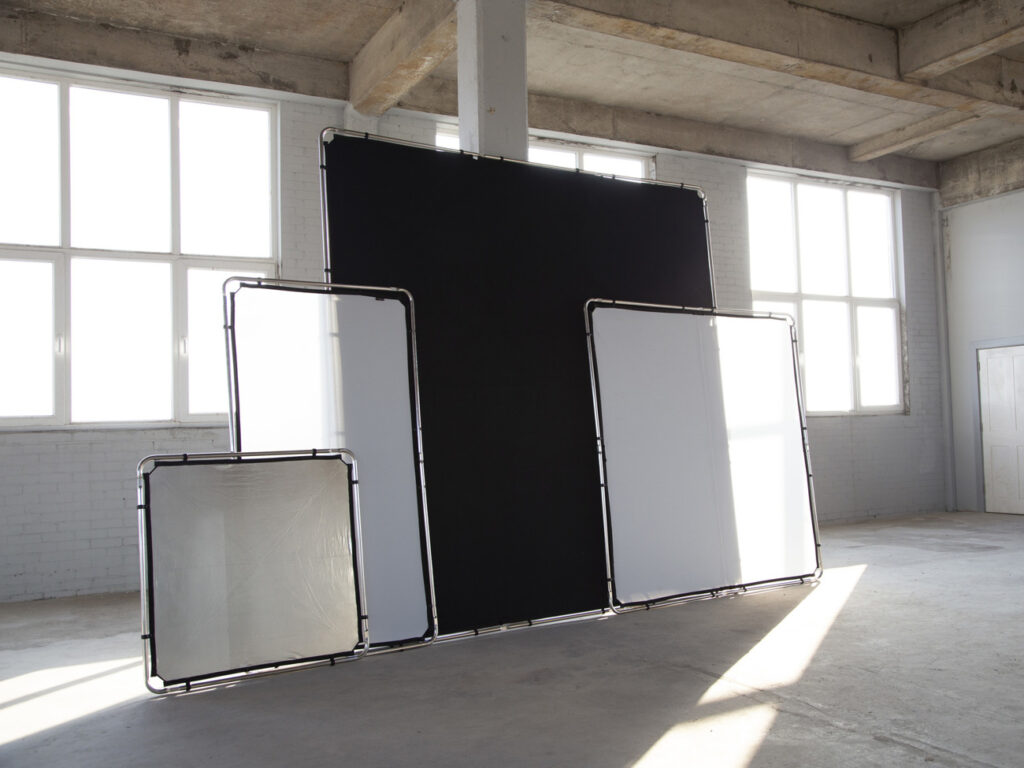
I also believe that it’s imperative to have some reflectors, black clothes, and diffusers. To get the best results, you’ll probably need an 8×8 scrim jim. This means at least two assistants.
Gallery
Daylight


The second you put up an electronic light, you’re fighting it. The color is wrong, the intensity is wrong, and the softness is wrong.
It takes more effort to make light look natural than it does to make natural light look shaped.
To me, that’s the preferred methodology for lightning.
Greig Fraser Director of Photography
Tungsten
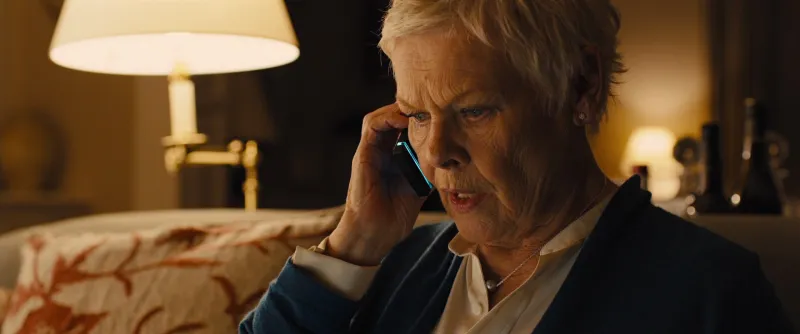
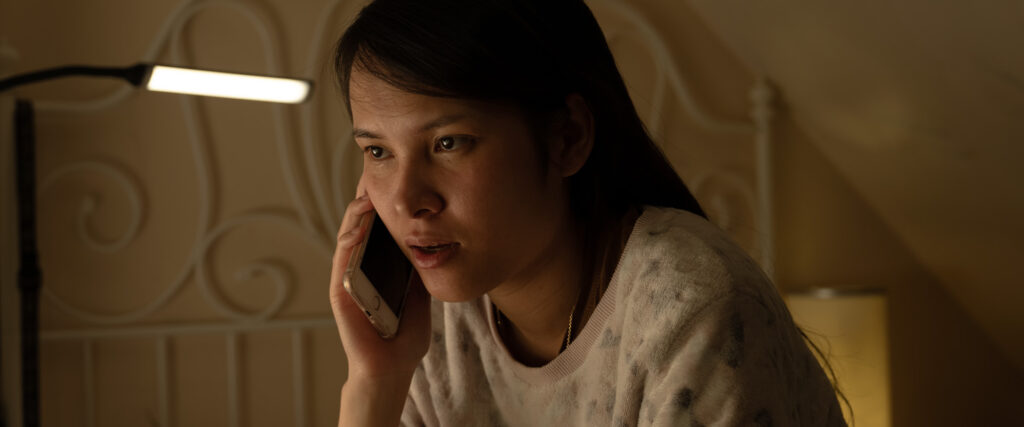
There is a big difference in color when both the Forza 60B II and 500B II are set to 3200K. The Forza 500B II has more green, which makes the light more yellow.
It’s easy to fix it by adding -40 to the green magenta shift option, which represents a correction of 0.0040 Duv.
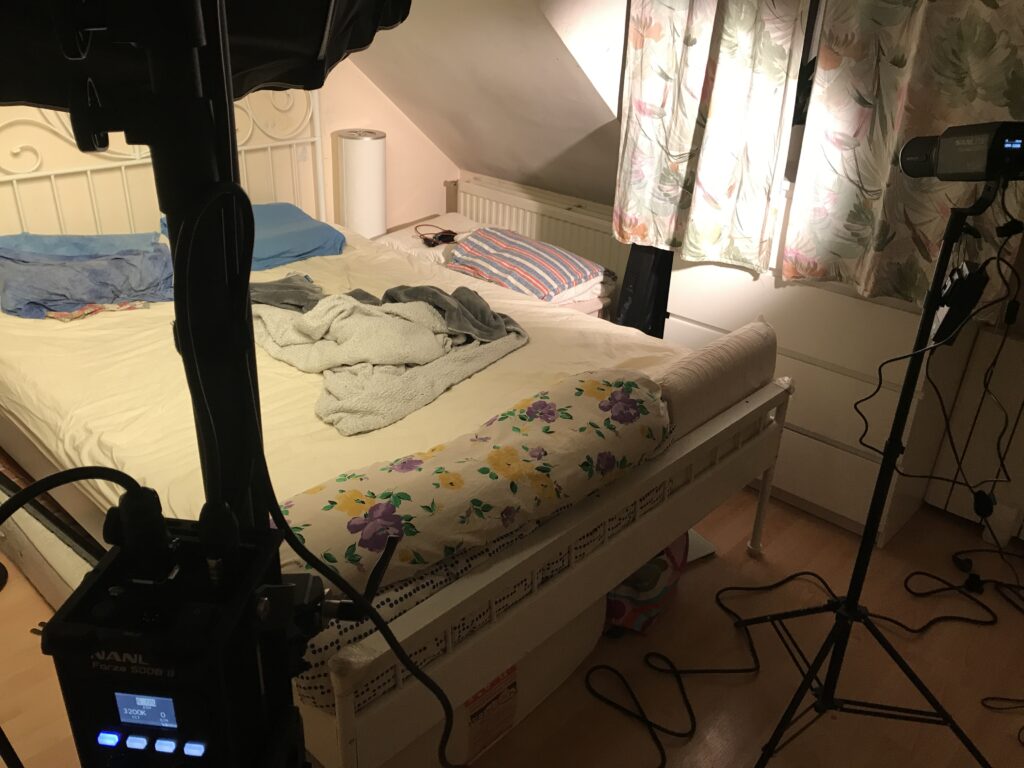
LEDs are supposed to go greener the longer you use them in their lifespan; that’s why the manufacturer set the light to be slightly more magenta than it should be out of the box.
Mixed lighting


In this setup, three LED lights are employed: a 500B II with a 90cm softbox serves as the key light, a 60B II with a projection mount functions as the hair light, and a Pavotube II 15X acts as the background light. The backdrop is an unbleached muslin sheet, so beige should be the color of the background.
It’s evident that despite setting the light and camera at 5600K, the illumination appears warmer, potentially influenced by light diffusion, reflections, and mixed lighting conditions. I was using the full diffusion sheet and as you can see, even without mixed lighting, the color still appeared warmer than expected.
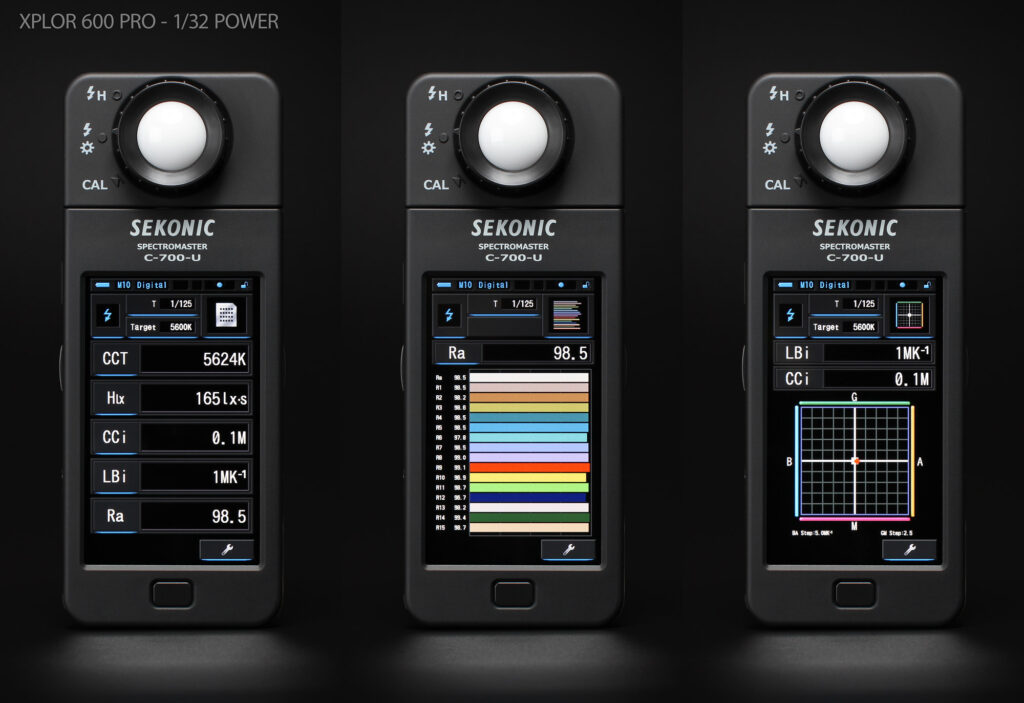
Even when diffusing the light from a strobe like a Profoto D1 inside a large umbrella, the color appears very white. Here it definitely looks warmer and greener. This could be attributed to this specific setup or to LED technology. To the best of my knowledge, Strobes typically scores around +98 on the CRI measurement compared to +96 here.
The cons with bi-color LED
I believe the downside of bi-color LEDs is that they utilize two distinct phosphors or colors to produce white light. Consequently, they need to adjust the intensity between the warmer and cooler LED chips.
If this method proves to be an intelligent means of adjusting the Kelvin scale between 2700K and 6500K, bi-color LEDs don’t have the potential to achieve similar saturation and color variety as full RGB or RGBWW LEDs.
More importantly, bi-color LEDs must follow a linear path when transitioning between cool and warm temperatures, whereas the Planck’s curve or daylight curve, as their names suggest, follow a curved trajectory.
Typically, this implies that colors between two extremes should exhibit a shift towards green or magenta. That’s precisely why the 300B II, 500B II, 2400B, and all RGB color LEDs offer a green and magenta compensation option.
Hence, Nanlite Bi-Color LEDs often display a noticeable green shift at 5600 Kelvin. In contrast, daylight versions like the 720 or the Aputure 600D Pro typically demonstrate better accuracy straight out of the box.
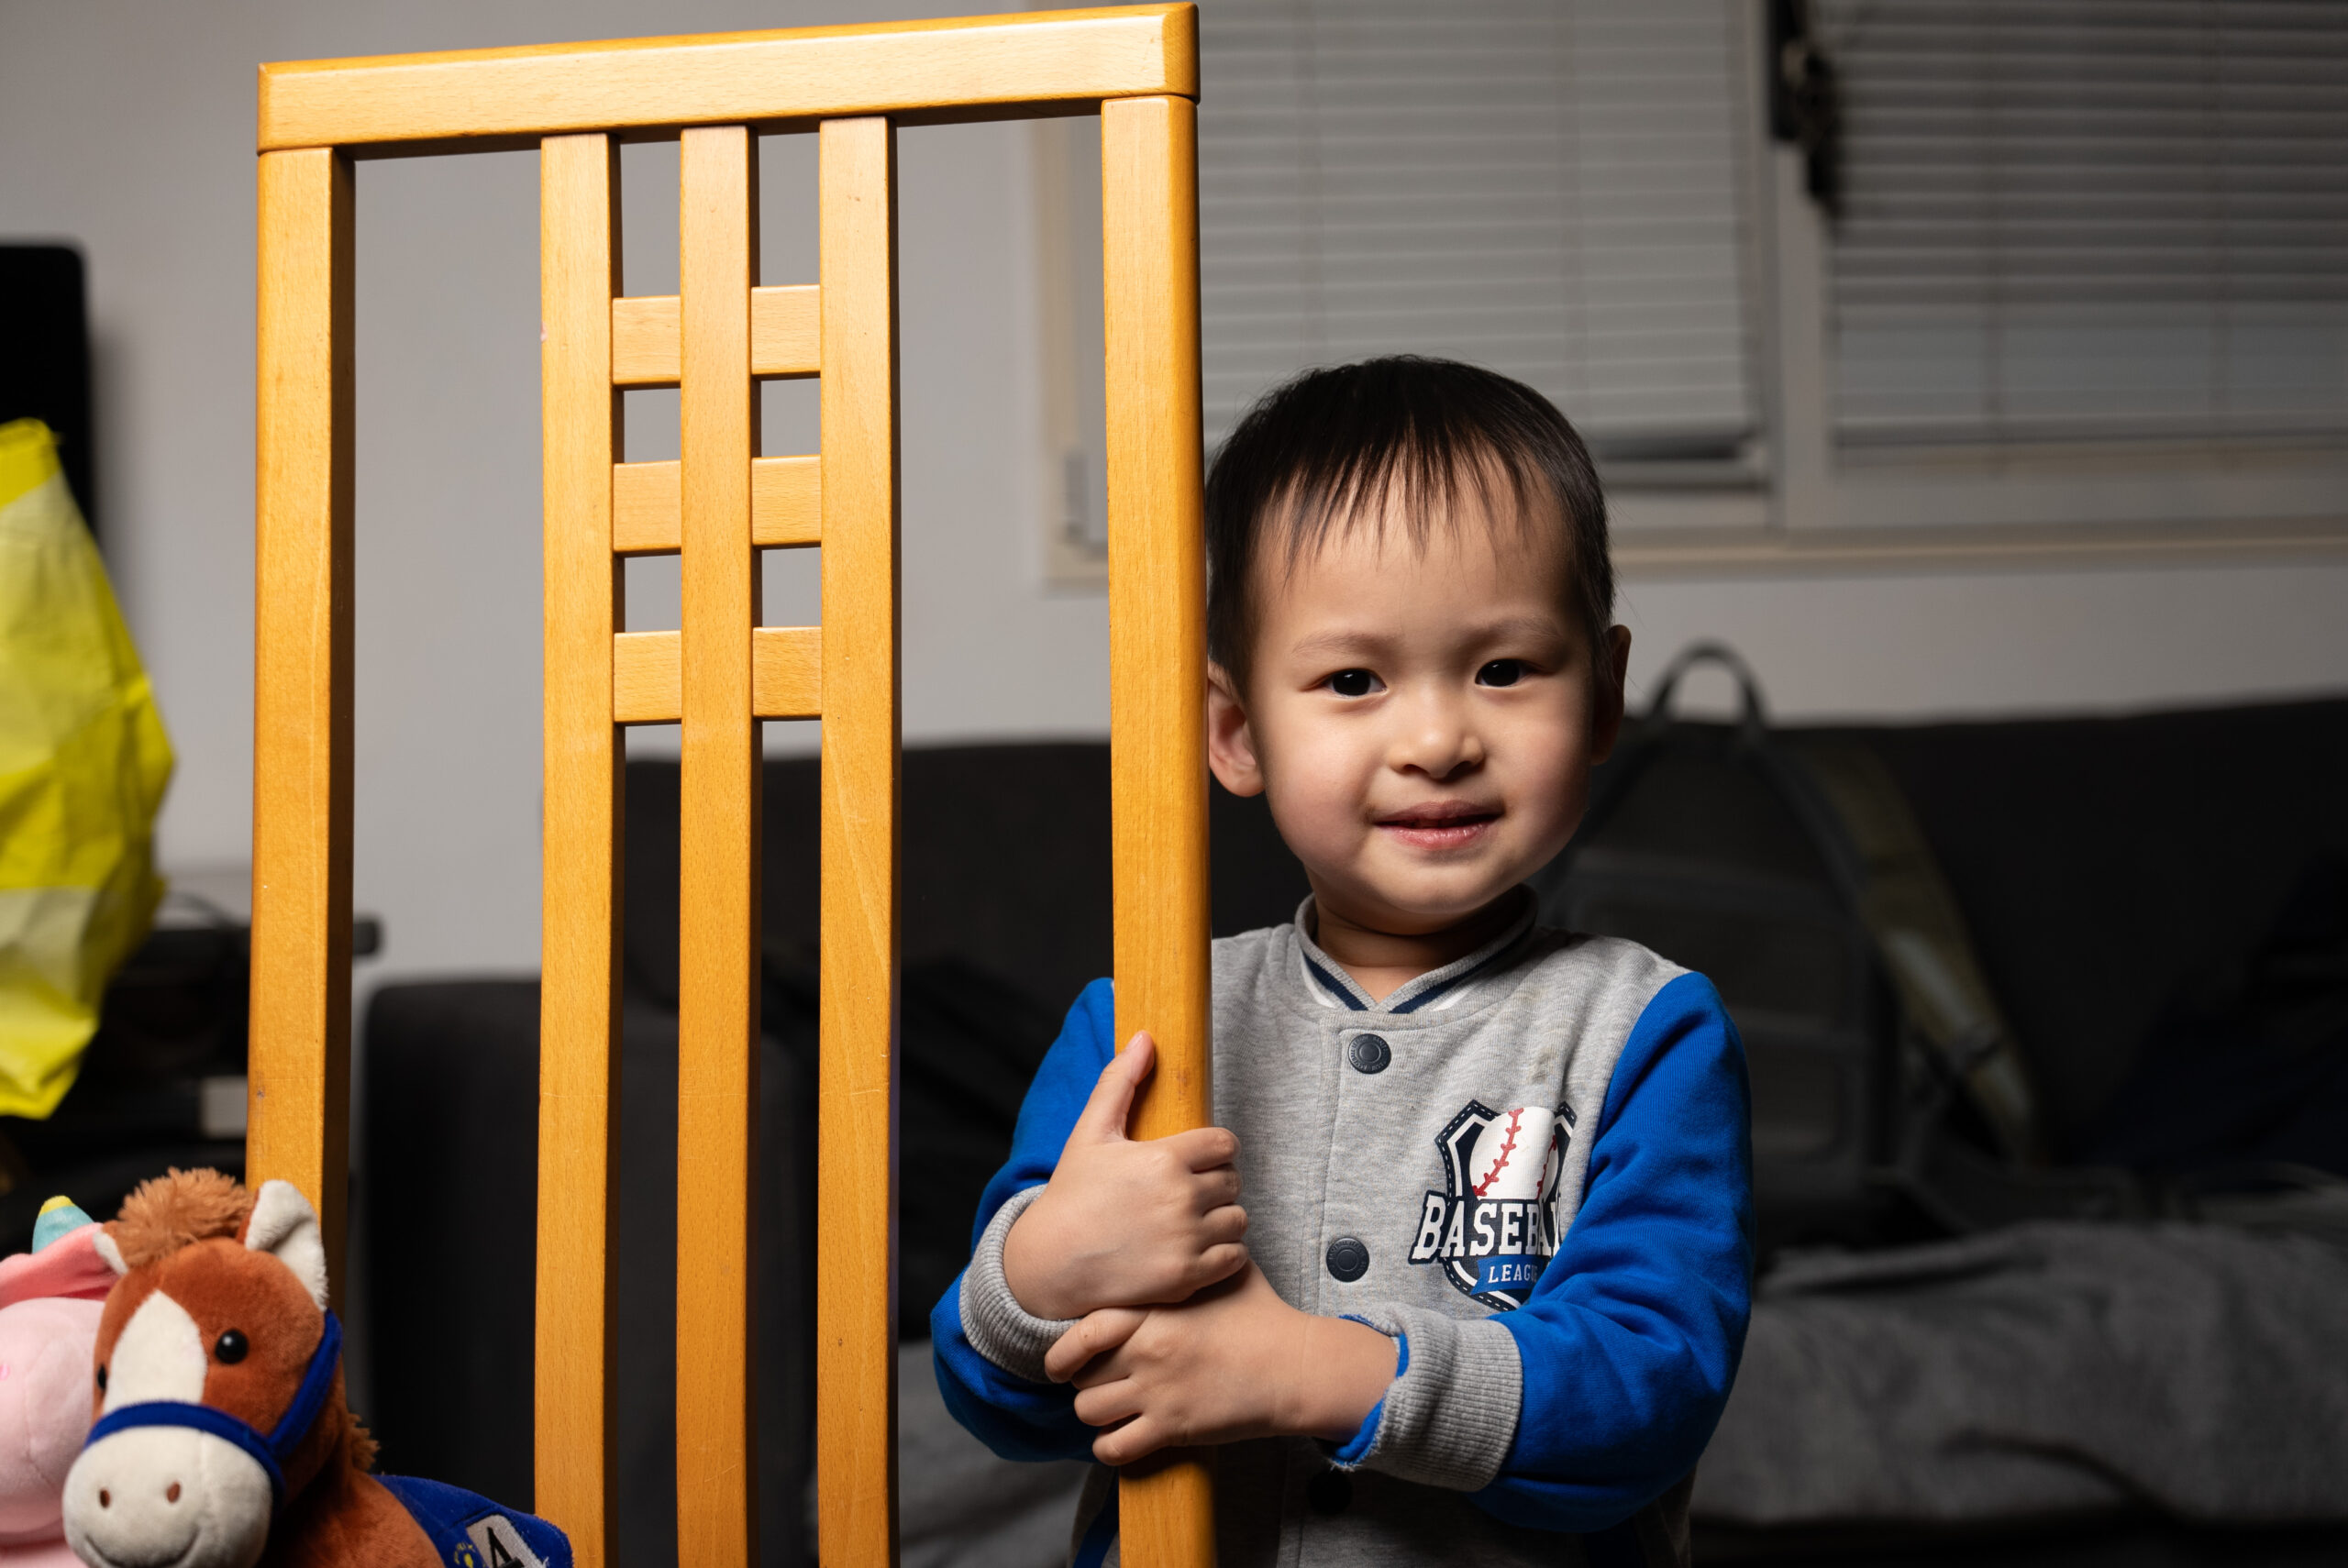
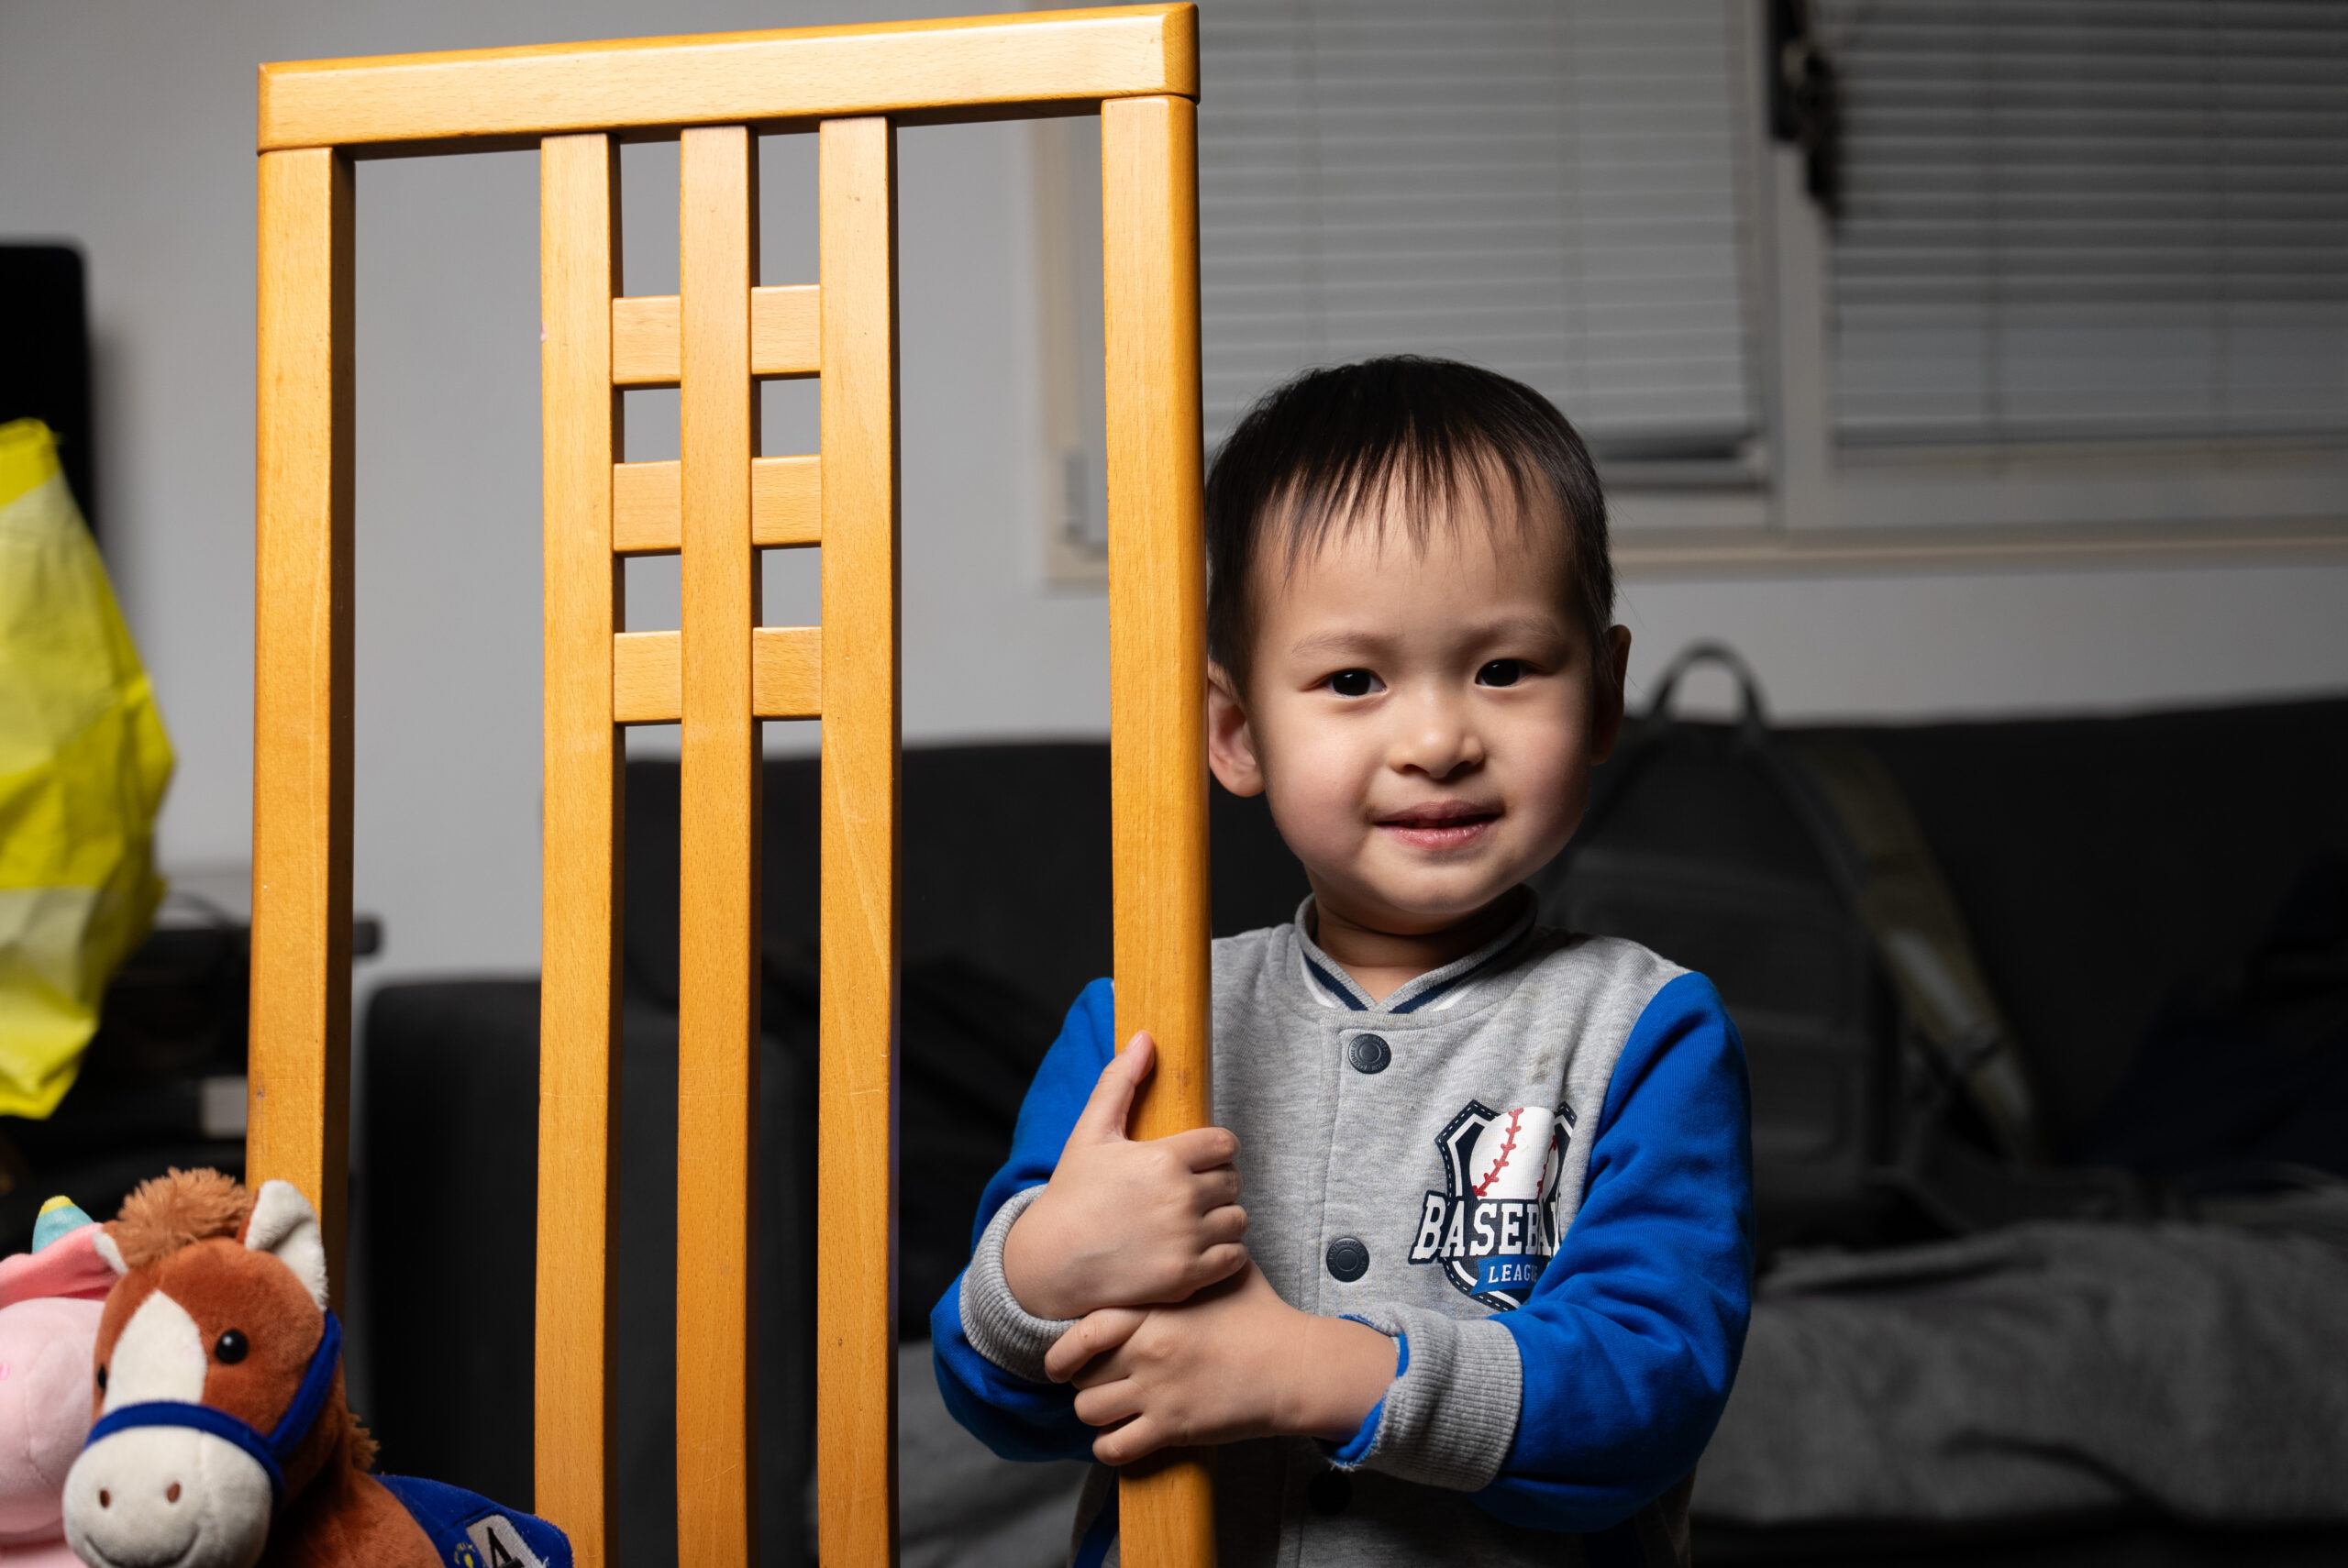
It’s noteworthy that Bi-Color LEDs typically achieve higher scores for Daylight SSI (D56), despite this anomaly. For instance, the Aputure 600D Pro scores 72, while the Aputure 600 X scores 74.
The Nanlite 500 II achieves a Daylight SSI (D56) score of 75, whereas the 500B II scores 74. This accomplishment is certainly impressive in my view.
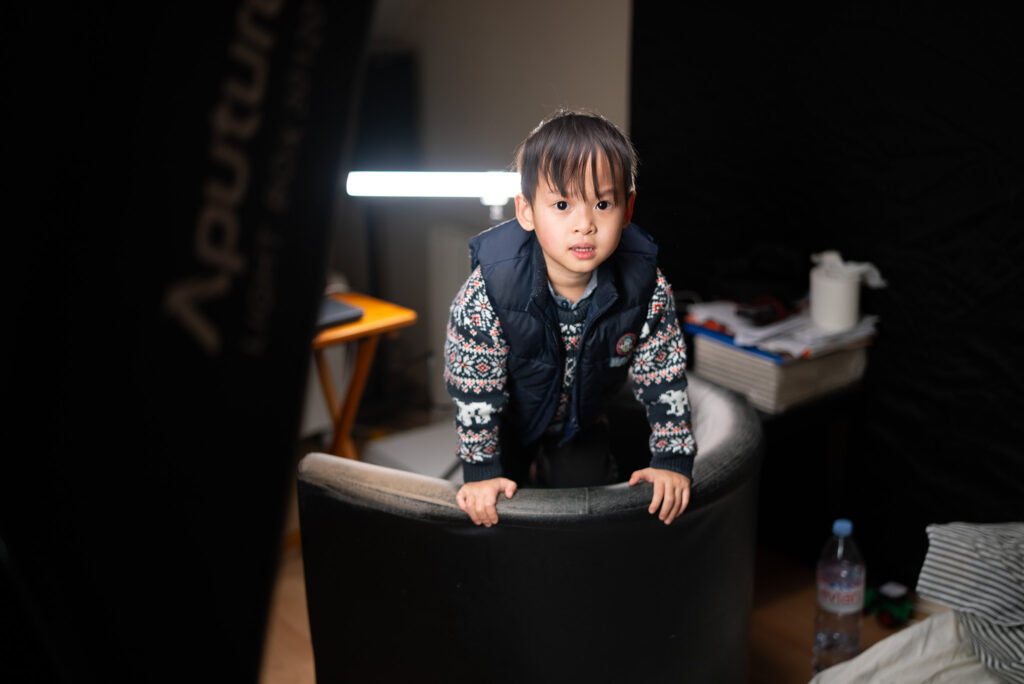
However, I maintain the belief that Bi-Color LEDs are significantly more challenging to work with compared to Daylight LEDs, which typically offer near-perfect performance right out of the box. Only experienced gaffers or DPs will truly be able to maximize the potential of Bi-Color LEDs.

Regarding Tungsten lighting, I don’t have specific metrics on the color accuracy of Daylight LEDs when using gels. However, Bi-Color LEDs are proving to be much more convenient and are already achieving scores of 84, 85, and even over 90 with the latest technology. This indicates that they are becoming nearly indistinguishable from Tungsten lights.
For portrait photography in the studio
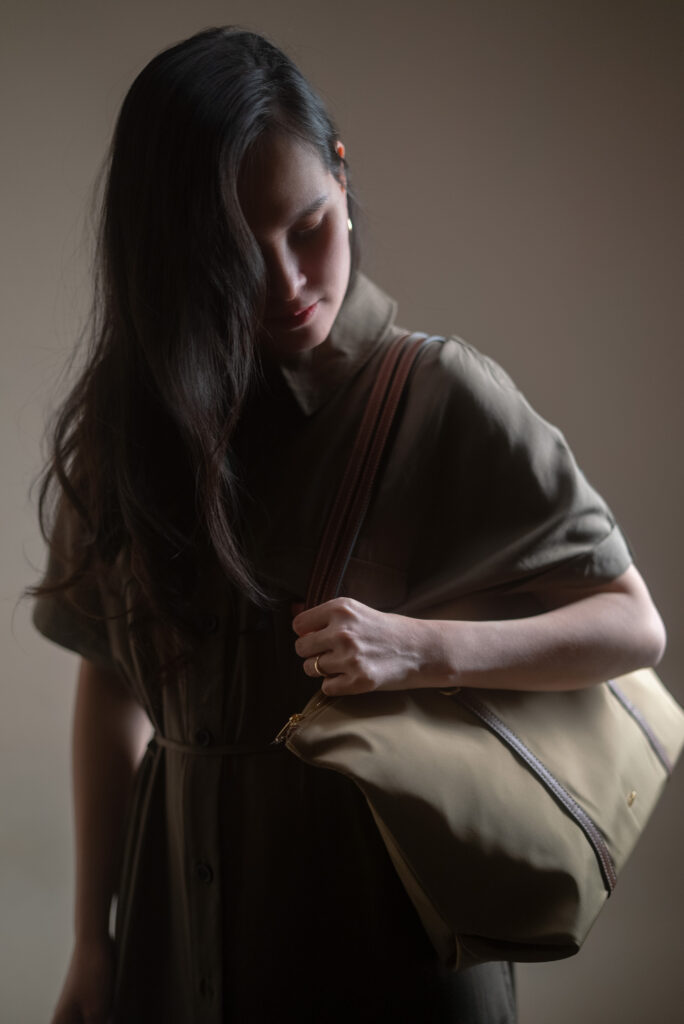
In my view, for studio portrait photography, this light surpasses the Aputure 600D Pro, thanks to its bi-color capability, which provides warmer tones and better SSI.
Moreover, although the Amaran 200X S boasts superior SSI due to its indigo LED, it faces issues with high-speed sync. While it may not perfectly capture the entire spectrum of strobes, it is still capable of producing quality images.
Verdict
8.8 out of 10.
Investing in a continuous light such as the Nanlite Forza 500B II is a bigger decision than it might seem. If I had to do it again, I would definitely choose to buy a 60B II instead as a learning tool.
As a serious, inspiring small production, this is a great option. The light is well built, slightly heavy to be honest, but it inspires confidence.
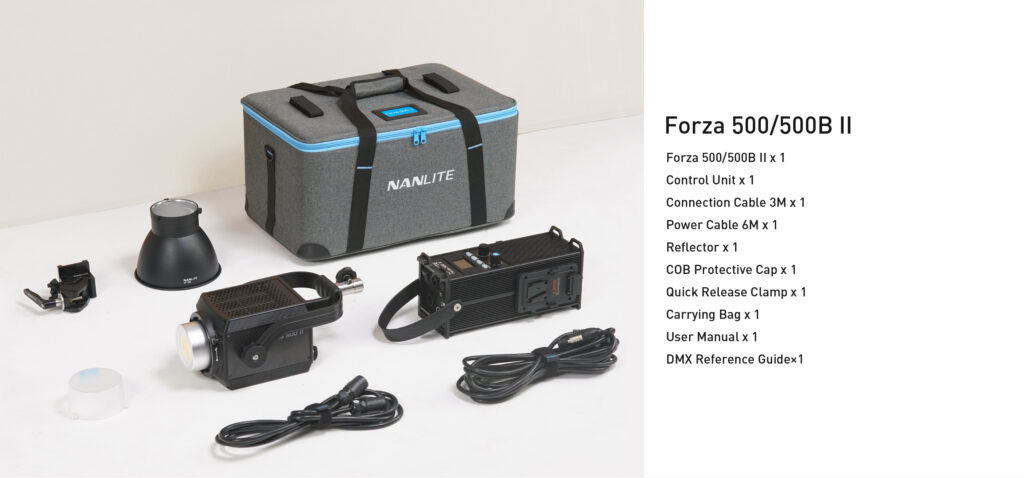
The features and the quality of the light make it a good tool to invest in and to fit within your existing system. A 500-watt light is the middle ground between portability and competing with the sunlight.
This light is also 25% to 30% cheaper than the leading company Aputure. If you are looking for this type of light. This option is really a no brainer.

For those needing less power and simpler features with smaller light modifiers, the newer Amaran 200X S (comparable to a 300W bi-color light) could be a more suitable choice. It boasts enhanced SSI (D56 89+) due to the addition of purple LEDs and comes at a much more affordable price of 400 euros.
Informations
Nanlite Forza 500B II
Website: https://nanlite.com/
Page of the product: https://nanlite.com/product-forza-300-300b-500-500b-ii
Facebook page: https://www.facebook.com/nanlitelighting/
YouTube page: https://www.youtube.com/c/NanliteGlobal
Technical Review: https://www.newsshooter.com/2023/04/23/nanlite-forza-500b-ii-review/
Our video production in Paris: https://www.neonnight.fr
Samples using the Forza 500B II :
Packshots
https://www.neonnight.fr/en/portfolio/viwone-packshots-dark
https://www.neonnight.fr/en/portfolio/viwone-packshots-bright
Studio Portraits
https://www.neonnight.fr/en/portfolio/viwone-create-together-drip


GIPHY App Key not set. Please check settings
9 Comments